Site Refresh

The new year is perhaps the very best time to get organized. I often use the winter months as a chance to reassess items in my home, taking account of what is being used/not being used, and whether or not it's important enough to keep into the year ahead.
Generally speaking, if I haven't used an item in a year or more, it's likely heading to a sale or donation pile. That purge of unused items always delivers relief, bringing more order and breathing room to my home.
This year, I decided to focus on the walk-in office closet as I've been wanting a space to house art supplies, craft and sewing materials, boardgames and office supplies. Being a creative, I have quite a few things in all the above categories, but up until now, I've been cramming most of it into random desk drawers and cupboards. When I want to work on paper crafts or gift wrapping, everything is hauled out of the cupboards and into the common areas of the house. I'm then left with a big mess of paper scraps, ribbons, glue, pens, markers...you get the picture. If anyone is coming over, I have to scramble to clean up my mini-disaster. I work on these types of projects often, so the constant back-and-forth can sometimes keep me from doing the creative things I want to do. I've also been using/storing my printer on the floor of the office for the past couple of months. Unacceptable and driving me crazy!
Not Just for Clothes, Don't Ya Know?
I was surprised to find not one but two walk-in closets in my home when I first bought it. Walk-ins weren't terribly common in the mid-century era, but Carter Sparks included them in many of his forward-thinking architectural plans. The office closet is quite large at 5'x6', giving ample room for a number of uses.
Prior to this endeavor, I was using the space as a temporary home for an abandoned house rabbit who was running around my neighborhood. I fostered the ever-so-charming, Paul, for 6 months until I found a gracious permanent home for him with friends in Ohio. Yes, I transported Paul cross country. He is just that special. The closet worked great as a home for him to run, jump, eat and play -- a swanky, mini bachelor bunny pad of sorts. For half the year, I guess you could say the place had gone to the rabbits, however, I had returned from the midwest with an empty shell of a closet, and it was time to realize my vision of a fun and functional craft and storage area.
My must-haves:
Budget-conscious solutions
Bar height work surface
Easily accessible outlets
Plenty of storage
Inspirational space
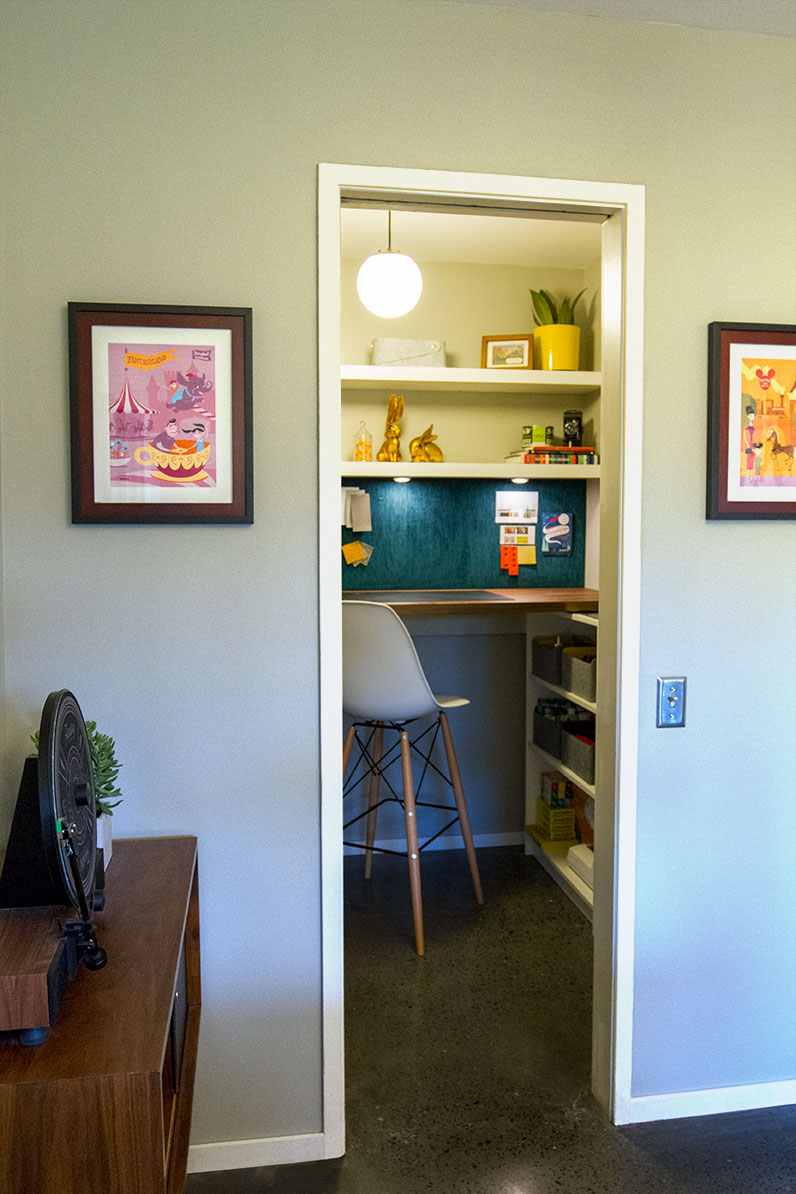
With a plan in mind and the closet completely gutted, I plastered, sanded and painted the walls Mindful Gray to match the rest of the house. No matter how many times I paint a space, I'm always amazed by what a fresh coat can do to make things feel clean and inspiring. Let the build-out begin!
Flat Pack Functionality
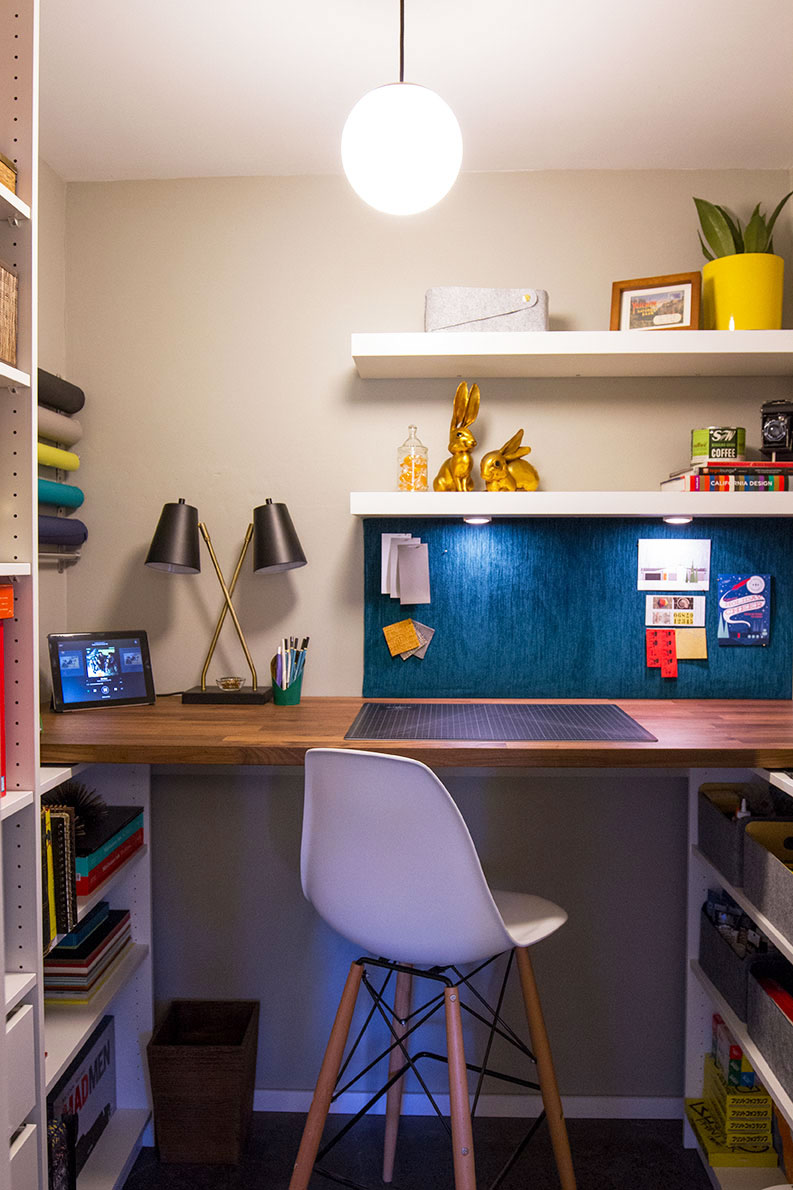
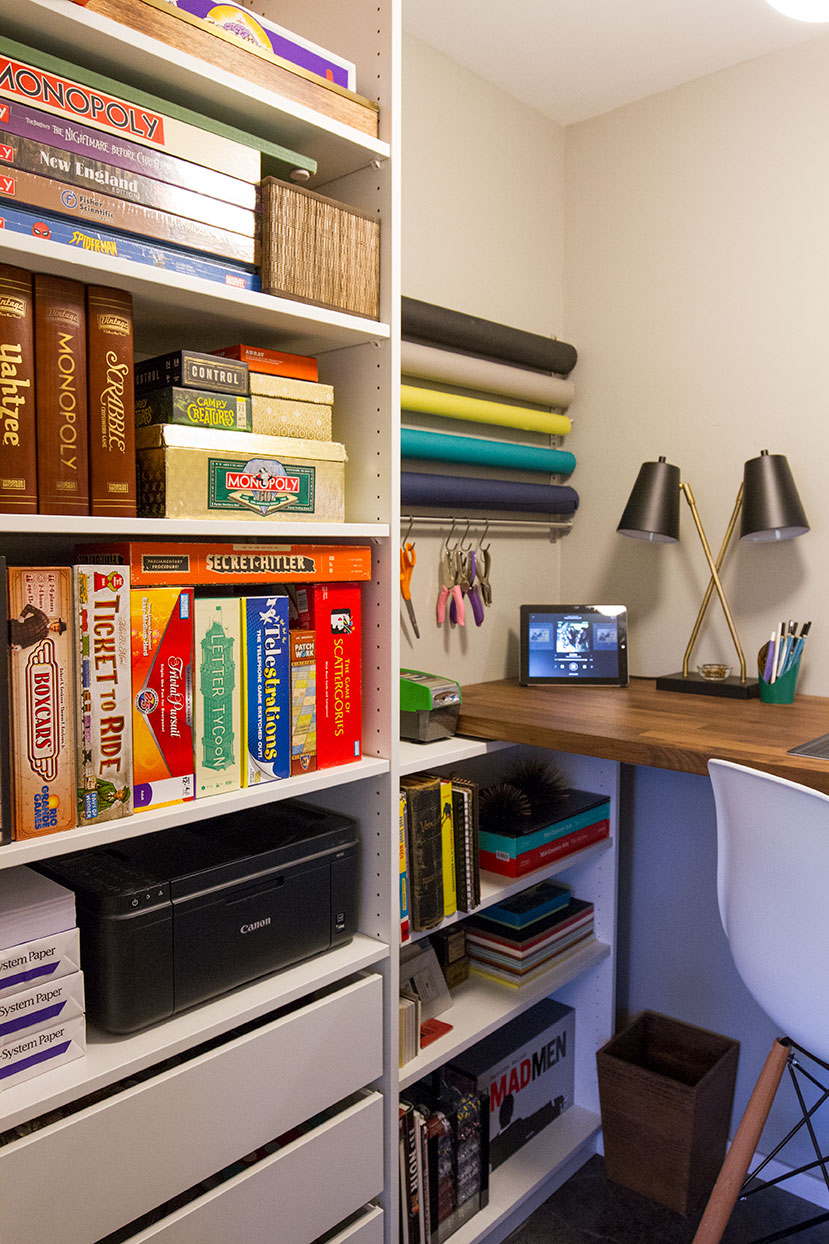
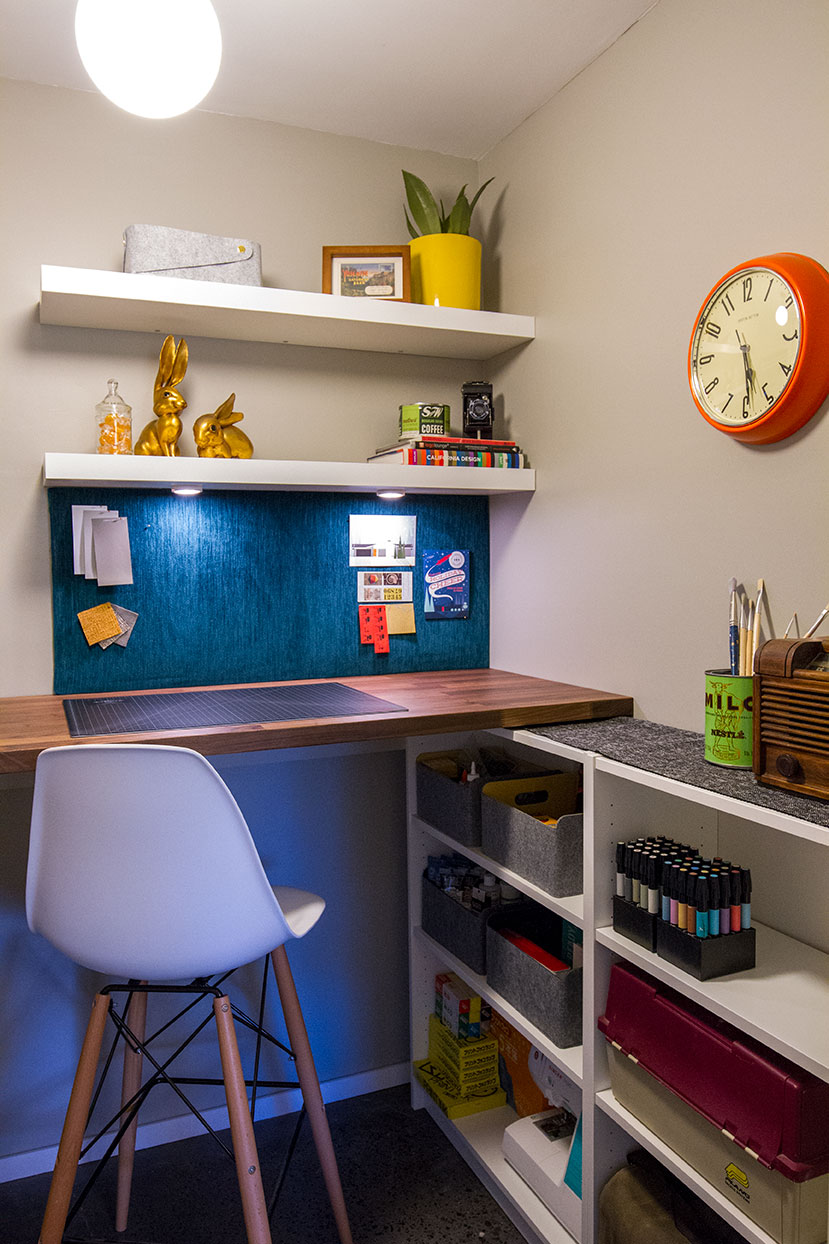
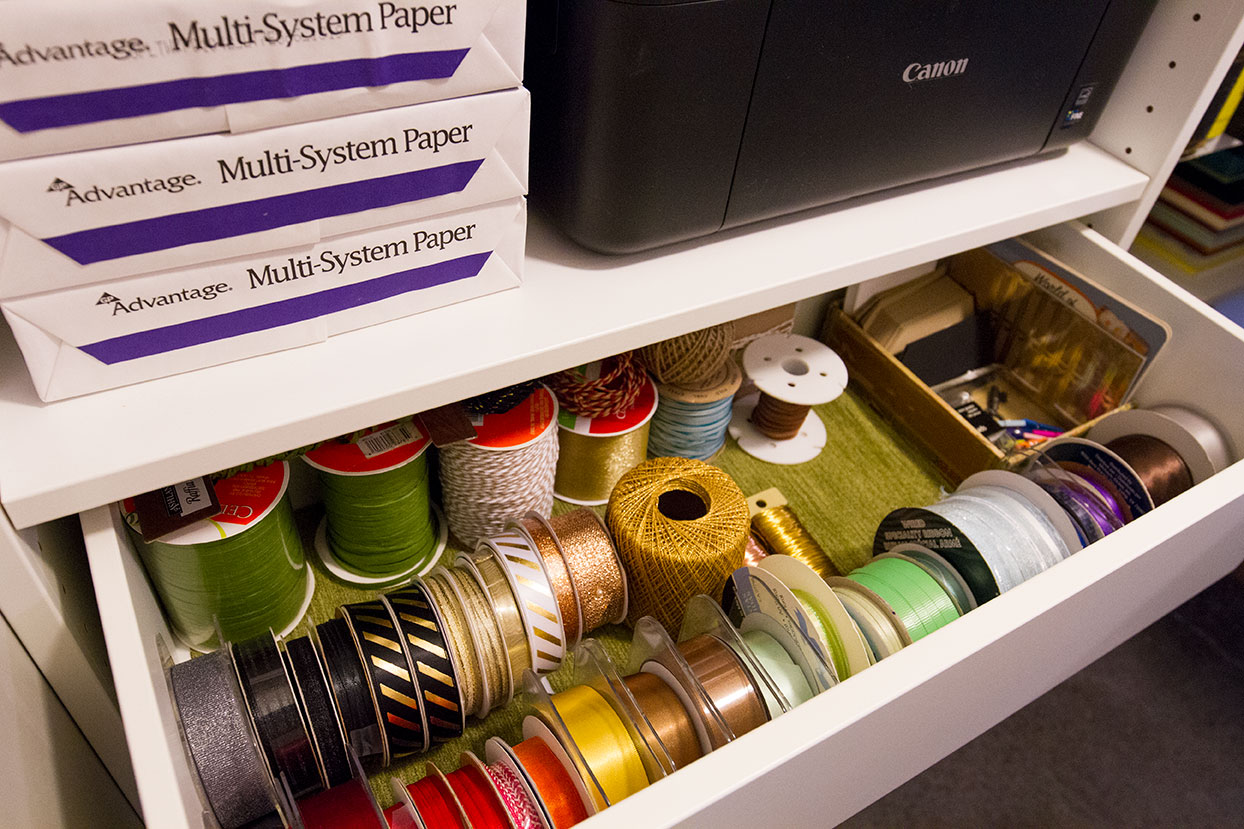
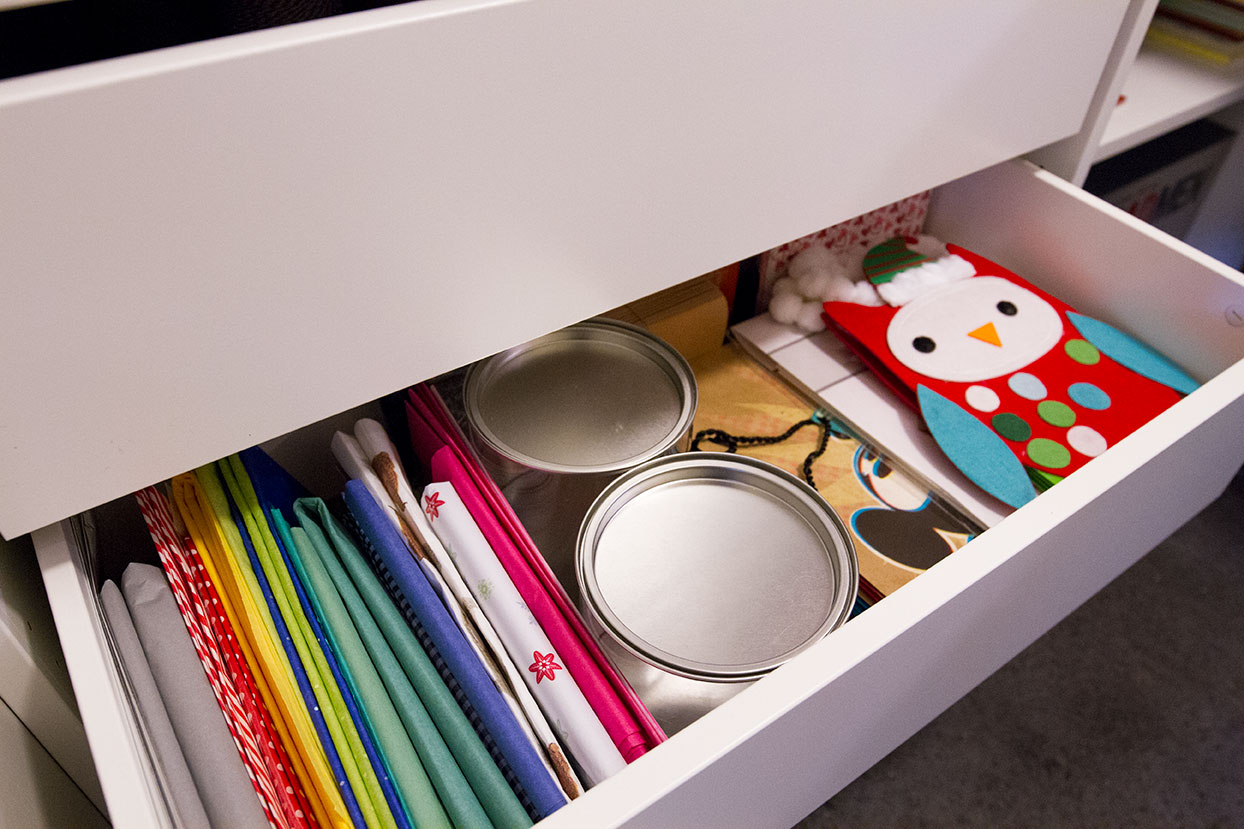
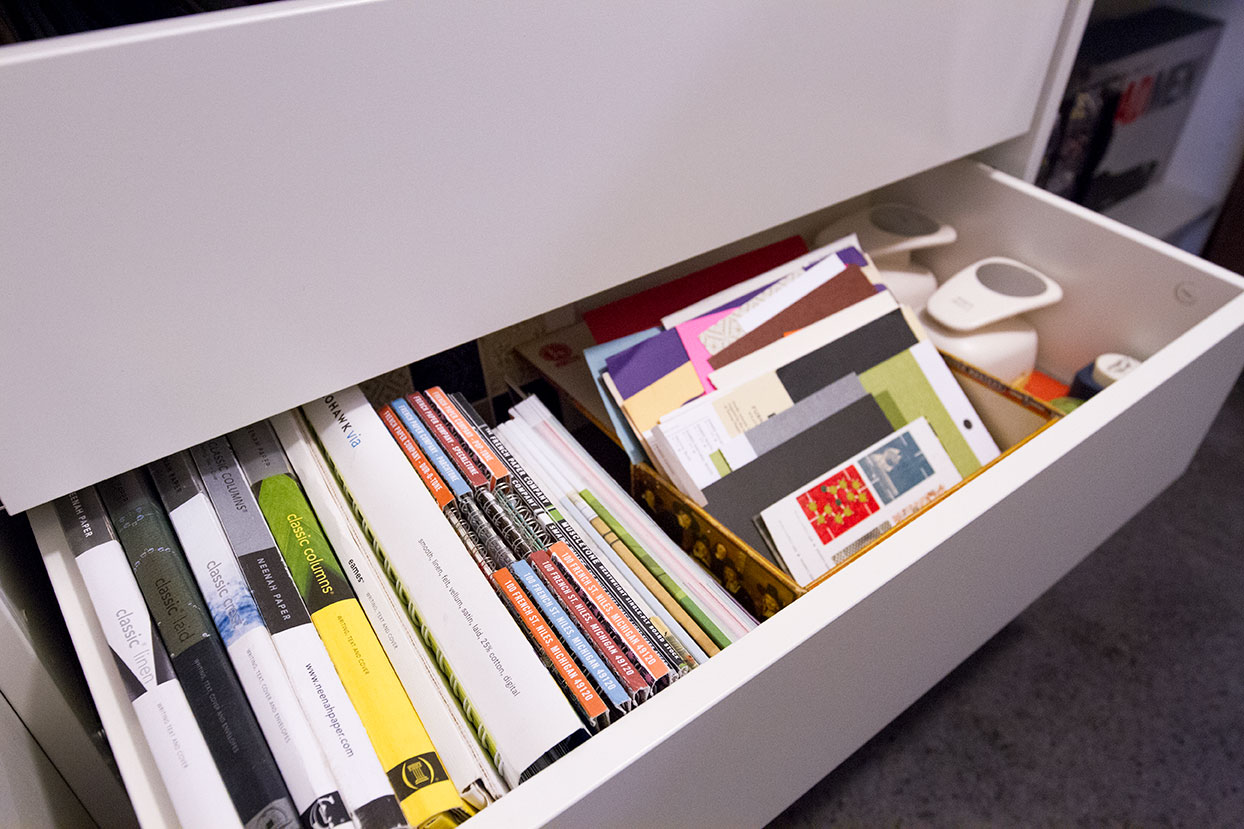
Budget was at top of mind when tackling this renovation. The craft/storage room is important to me, but I didn't see any reason to spend a fortune when I could combine the practicality of items from Ikea and Amazon along with some DIY ingenuity. I used a series of BILLY bookcases and a PAX/KOMPLEMENT wardrobe tower for the built-in storage units. This combination gives lots of room for all my art supplies, paper crafts, design books and so much more. The drawers are especially useful for gift wrapping supplies as I now have a dedicated place for ribbons, tags, stickers, tissue, bags and containers. It's a type-A, OCD dream come true!
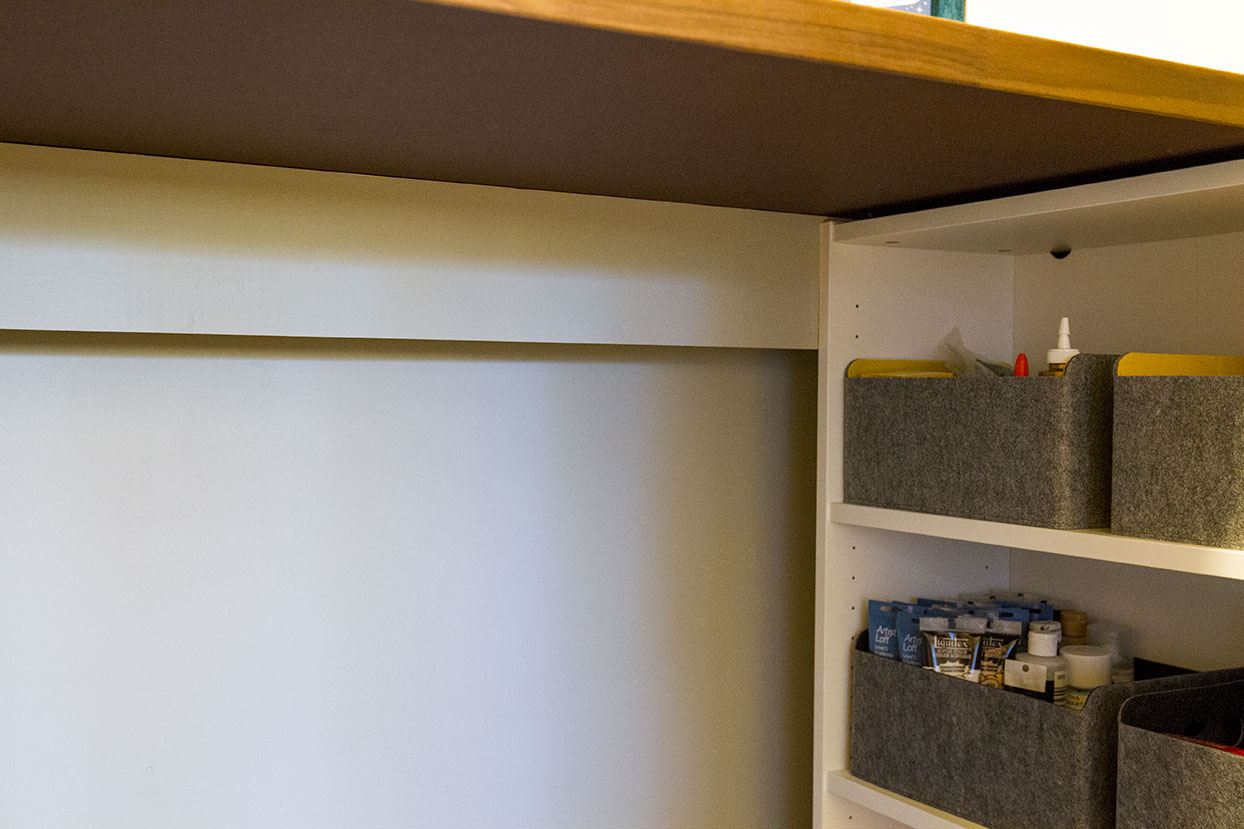
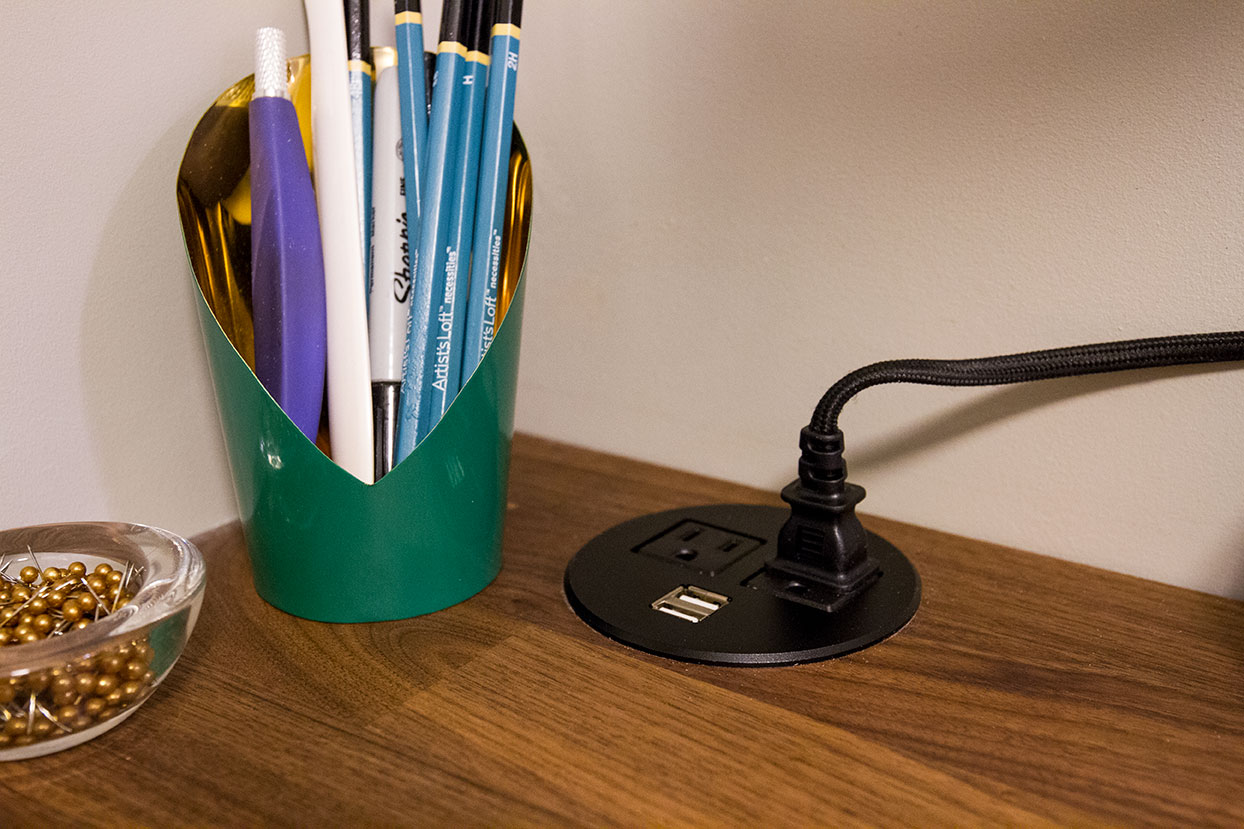
The KARLBY counter is a pre-fabricated piece that matches my kitchen island top. The walnut finish also brings some much needed warmth to offset the gray walls and white cabinetry. At 74" wide, it just so happened to fit like a glove along the back wall. I secured the countertop in place by drilling metal L-brackets into the studs along the back and sides of the closet. To hide the brackets and soon-to-be electrical cords, I cut a basic 1/2" thick pine board, painted it to match the wall color, and secured it to the under side of the counter with small L-brackets. This subtle addition acts as a valance to keep the appearance looking clean and streamlined. I also added an in-counter outlet/usb charger. This fun feature makes plugging in an extra lamp or hot glue gun very easy, and I can keep the iPad charged while I watch instructional videos or listen to tunes.
LACK shelves were installed over the counter for additional storage. I love the airy feeling of open shelves, as brackets can sometimes feel a little clunky, particularly in an MCM environment. These act as nice spots to place frequently used items and to display decorative pieces, such as golden bunnies.
At this point, I had seen about all the line art diagrams and particle board I could handle, so it was time to move on to a DIY project. To build a bulletin board, I constructed a frame out of scrap baseboards. I rolled out a 1/4" sheet of cork, and glued and stapled it to the frame. To give the piece a finished look, I wrapped it in a heavy teal upholstery fabric, and secured the entire frame to the wall with picture hangers. The finished product is a beautiful, luxurious surface to use as moodboard, inspiration wall, and message/reminder area. I added a little drama to this colorful feature with under-shelf LED puck lighting.
That's a Wrap
Lastly, I used a collection of GRUNDTAL kitchen rails to create a gift wrap dispenser. This makes cutting paper a breeze without taking up valuable counter space. The stainless steel rods can be easily detached with a hex key, allowing me to swap out papers with the seasons/holidays. Additional S-hooks keep frequently used items like scissors and hole punches within easy reach.
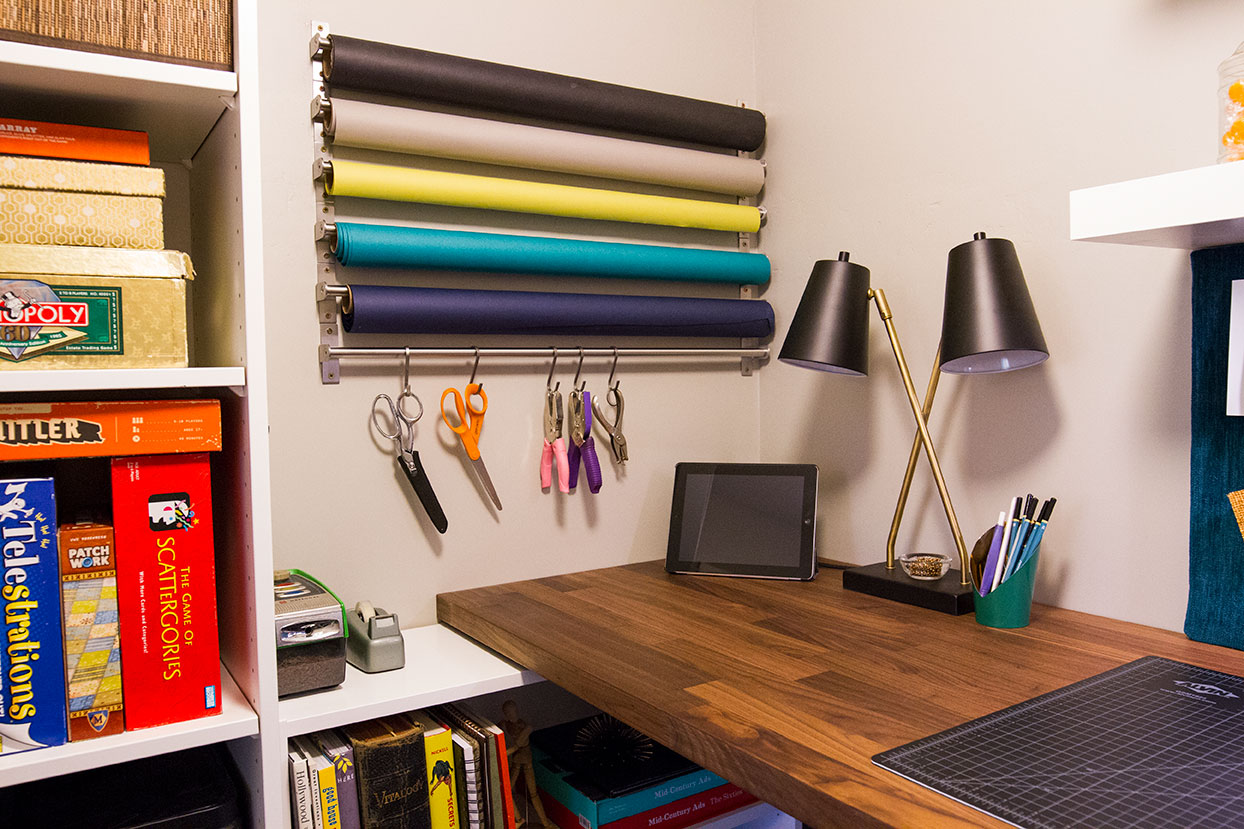
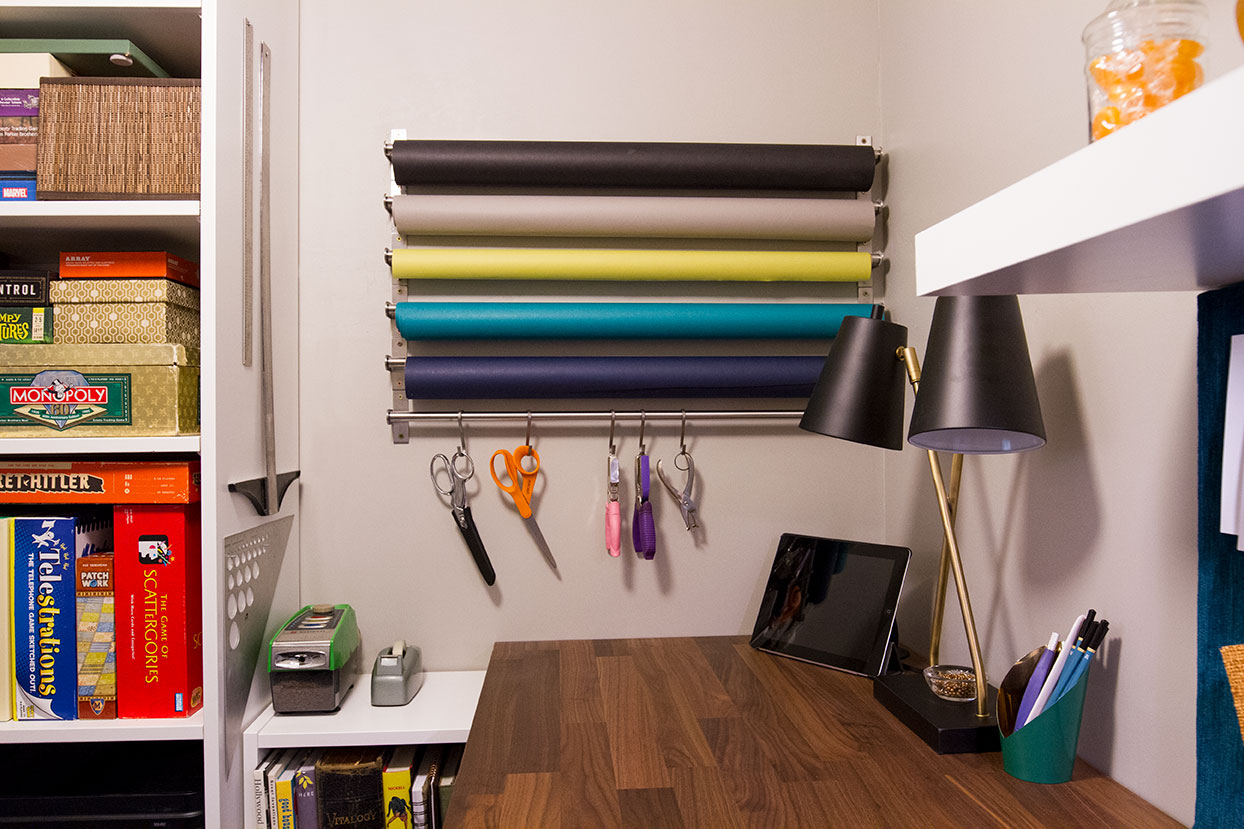
This cozy little nook could have easily become a standard place for clothing, clutter...or a pet rabbit, but with a little planning and criteria, I have a much more functional space that I will use without hesitation. I'm looking forward to putting this new multi-purpose room to use, and feeling inspired to get some crafts underway in the new year.


