Basic Birch

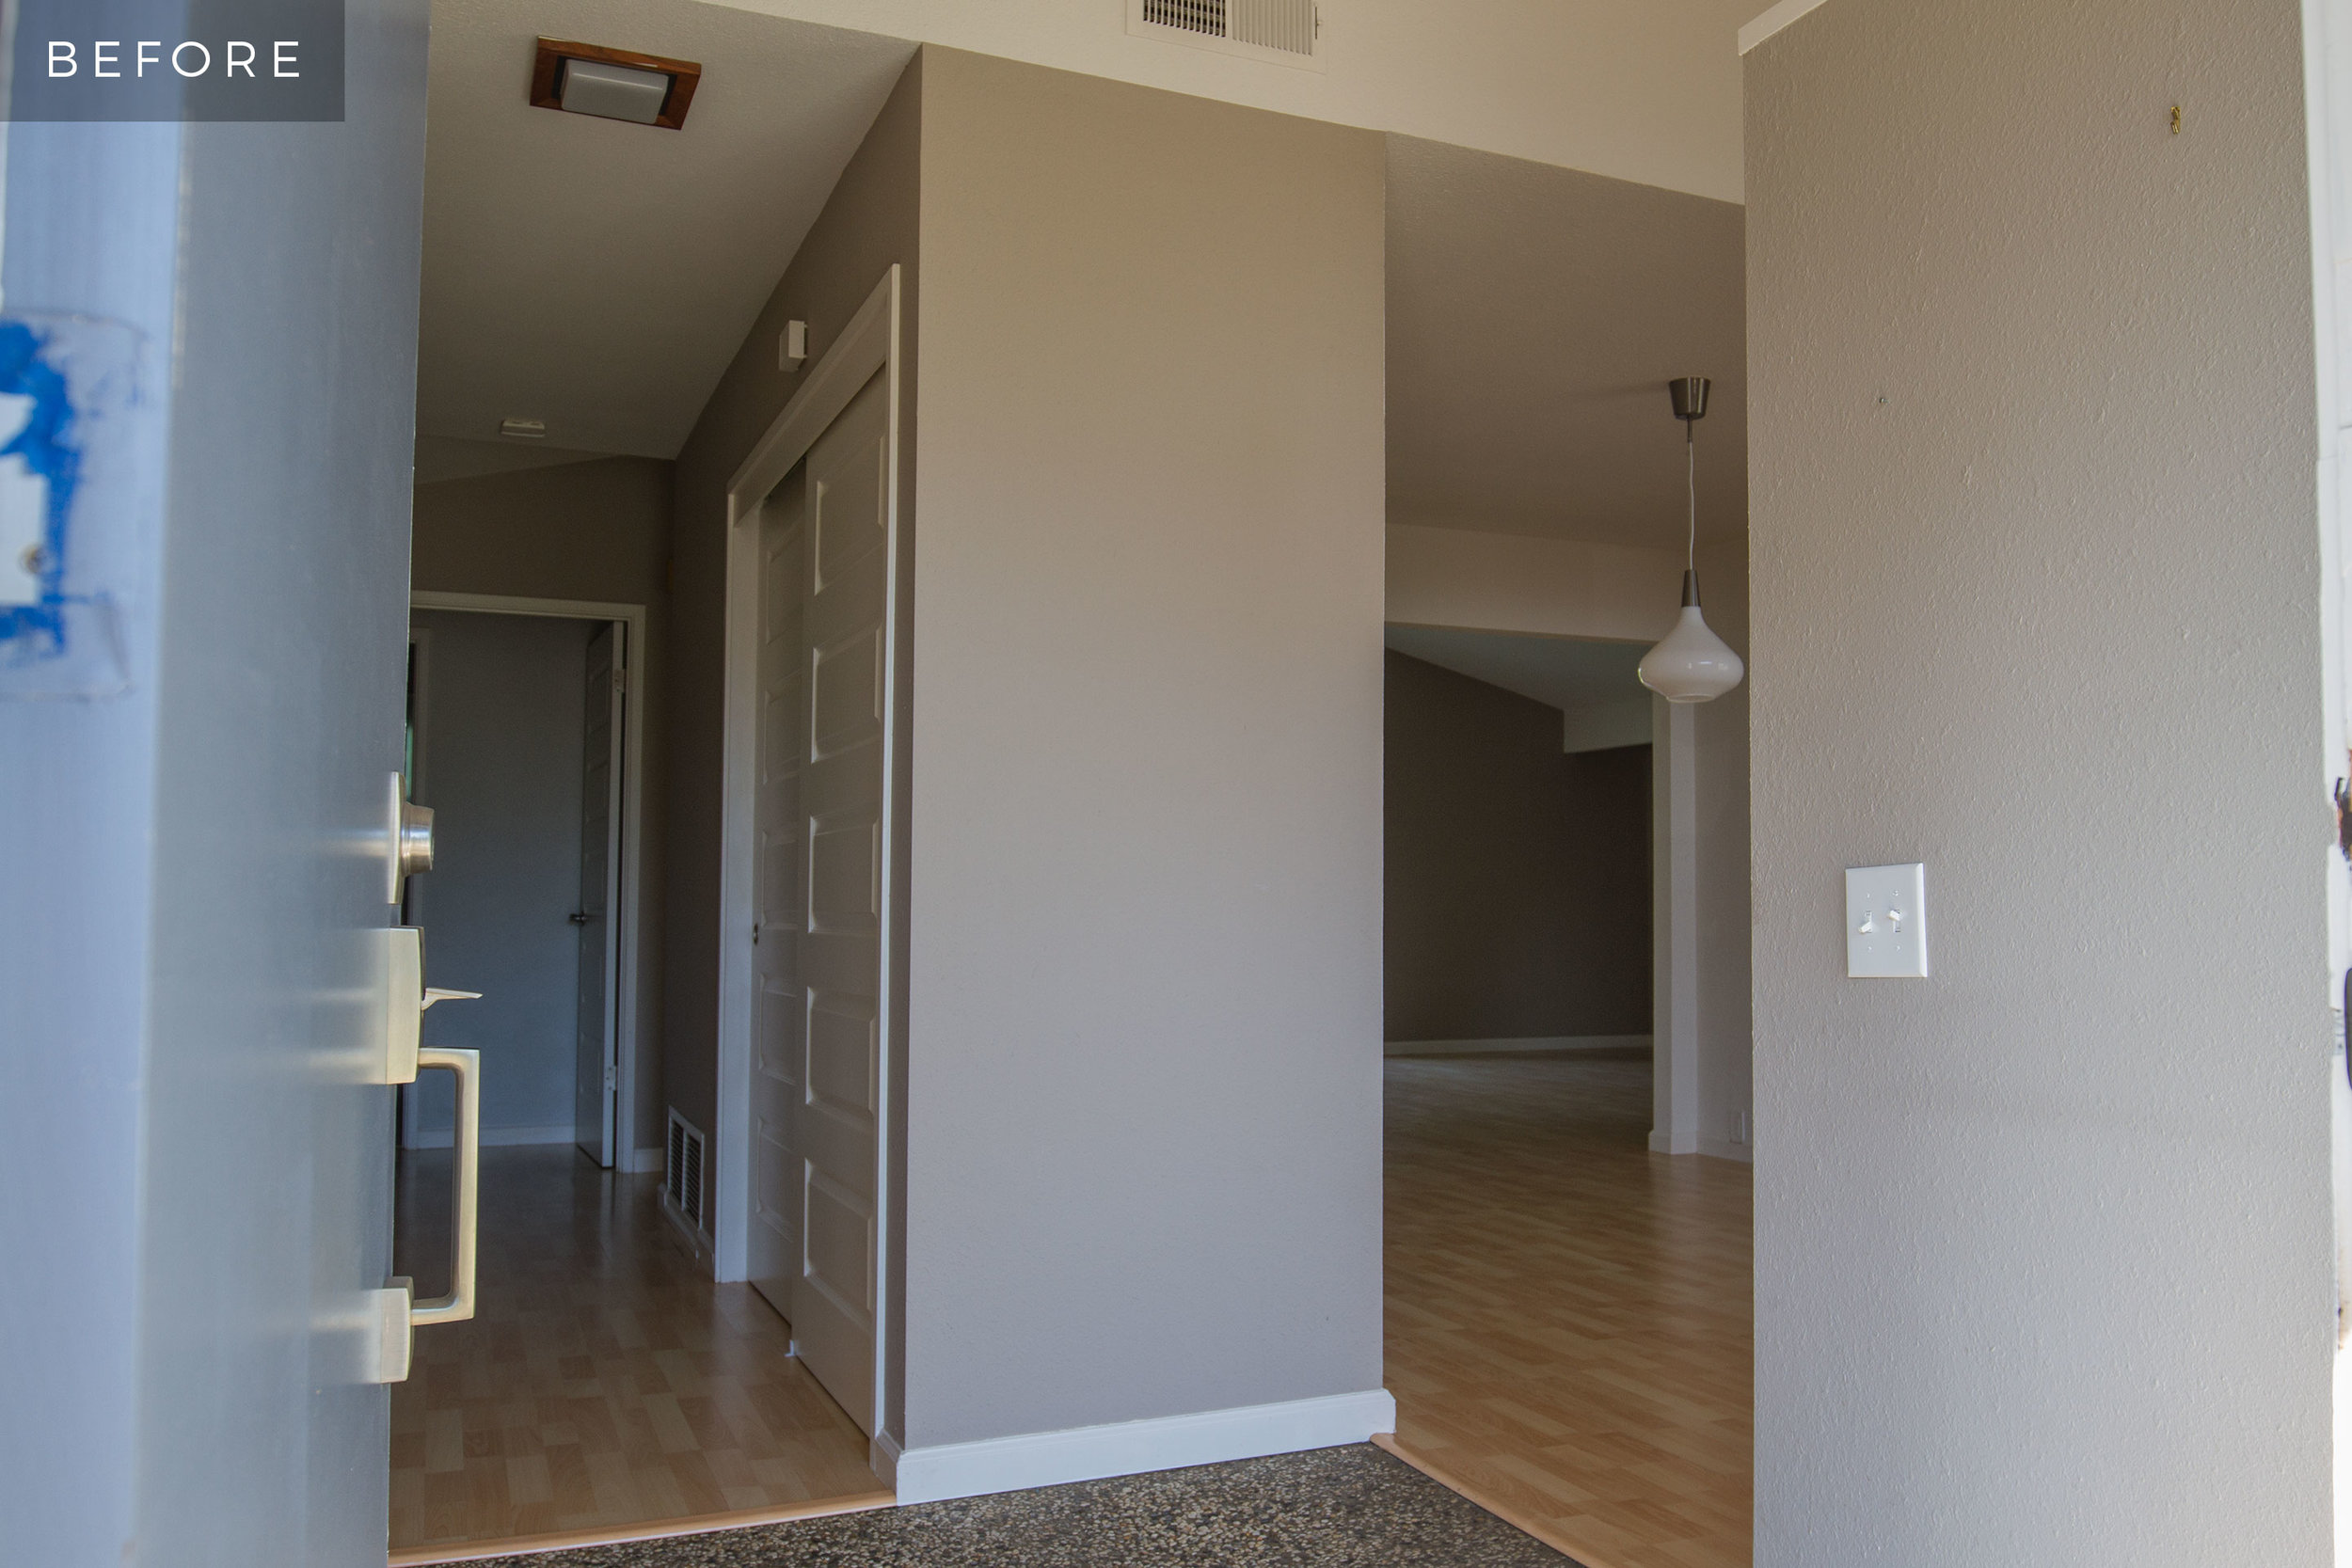
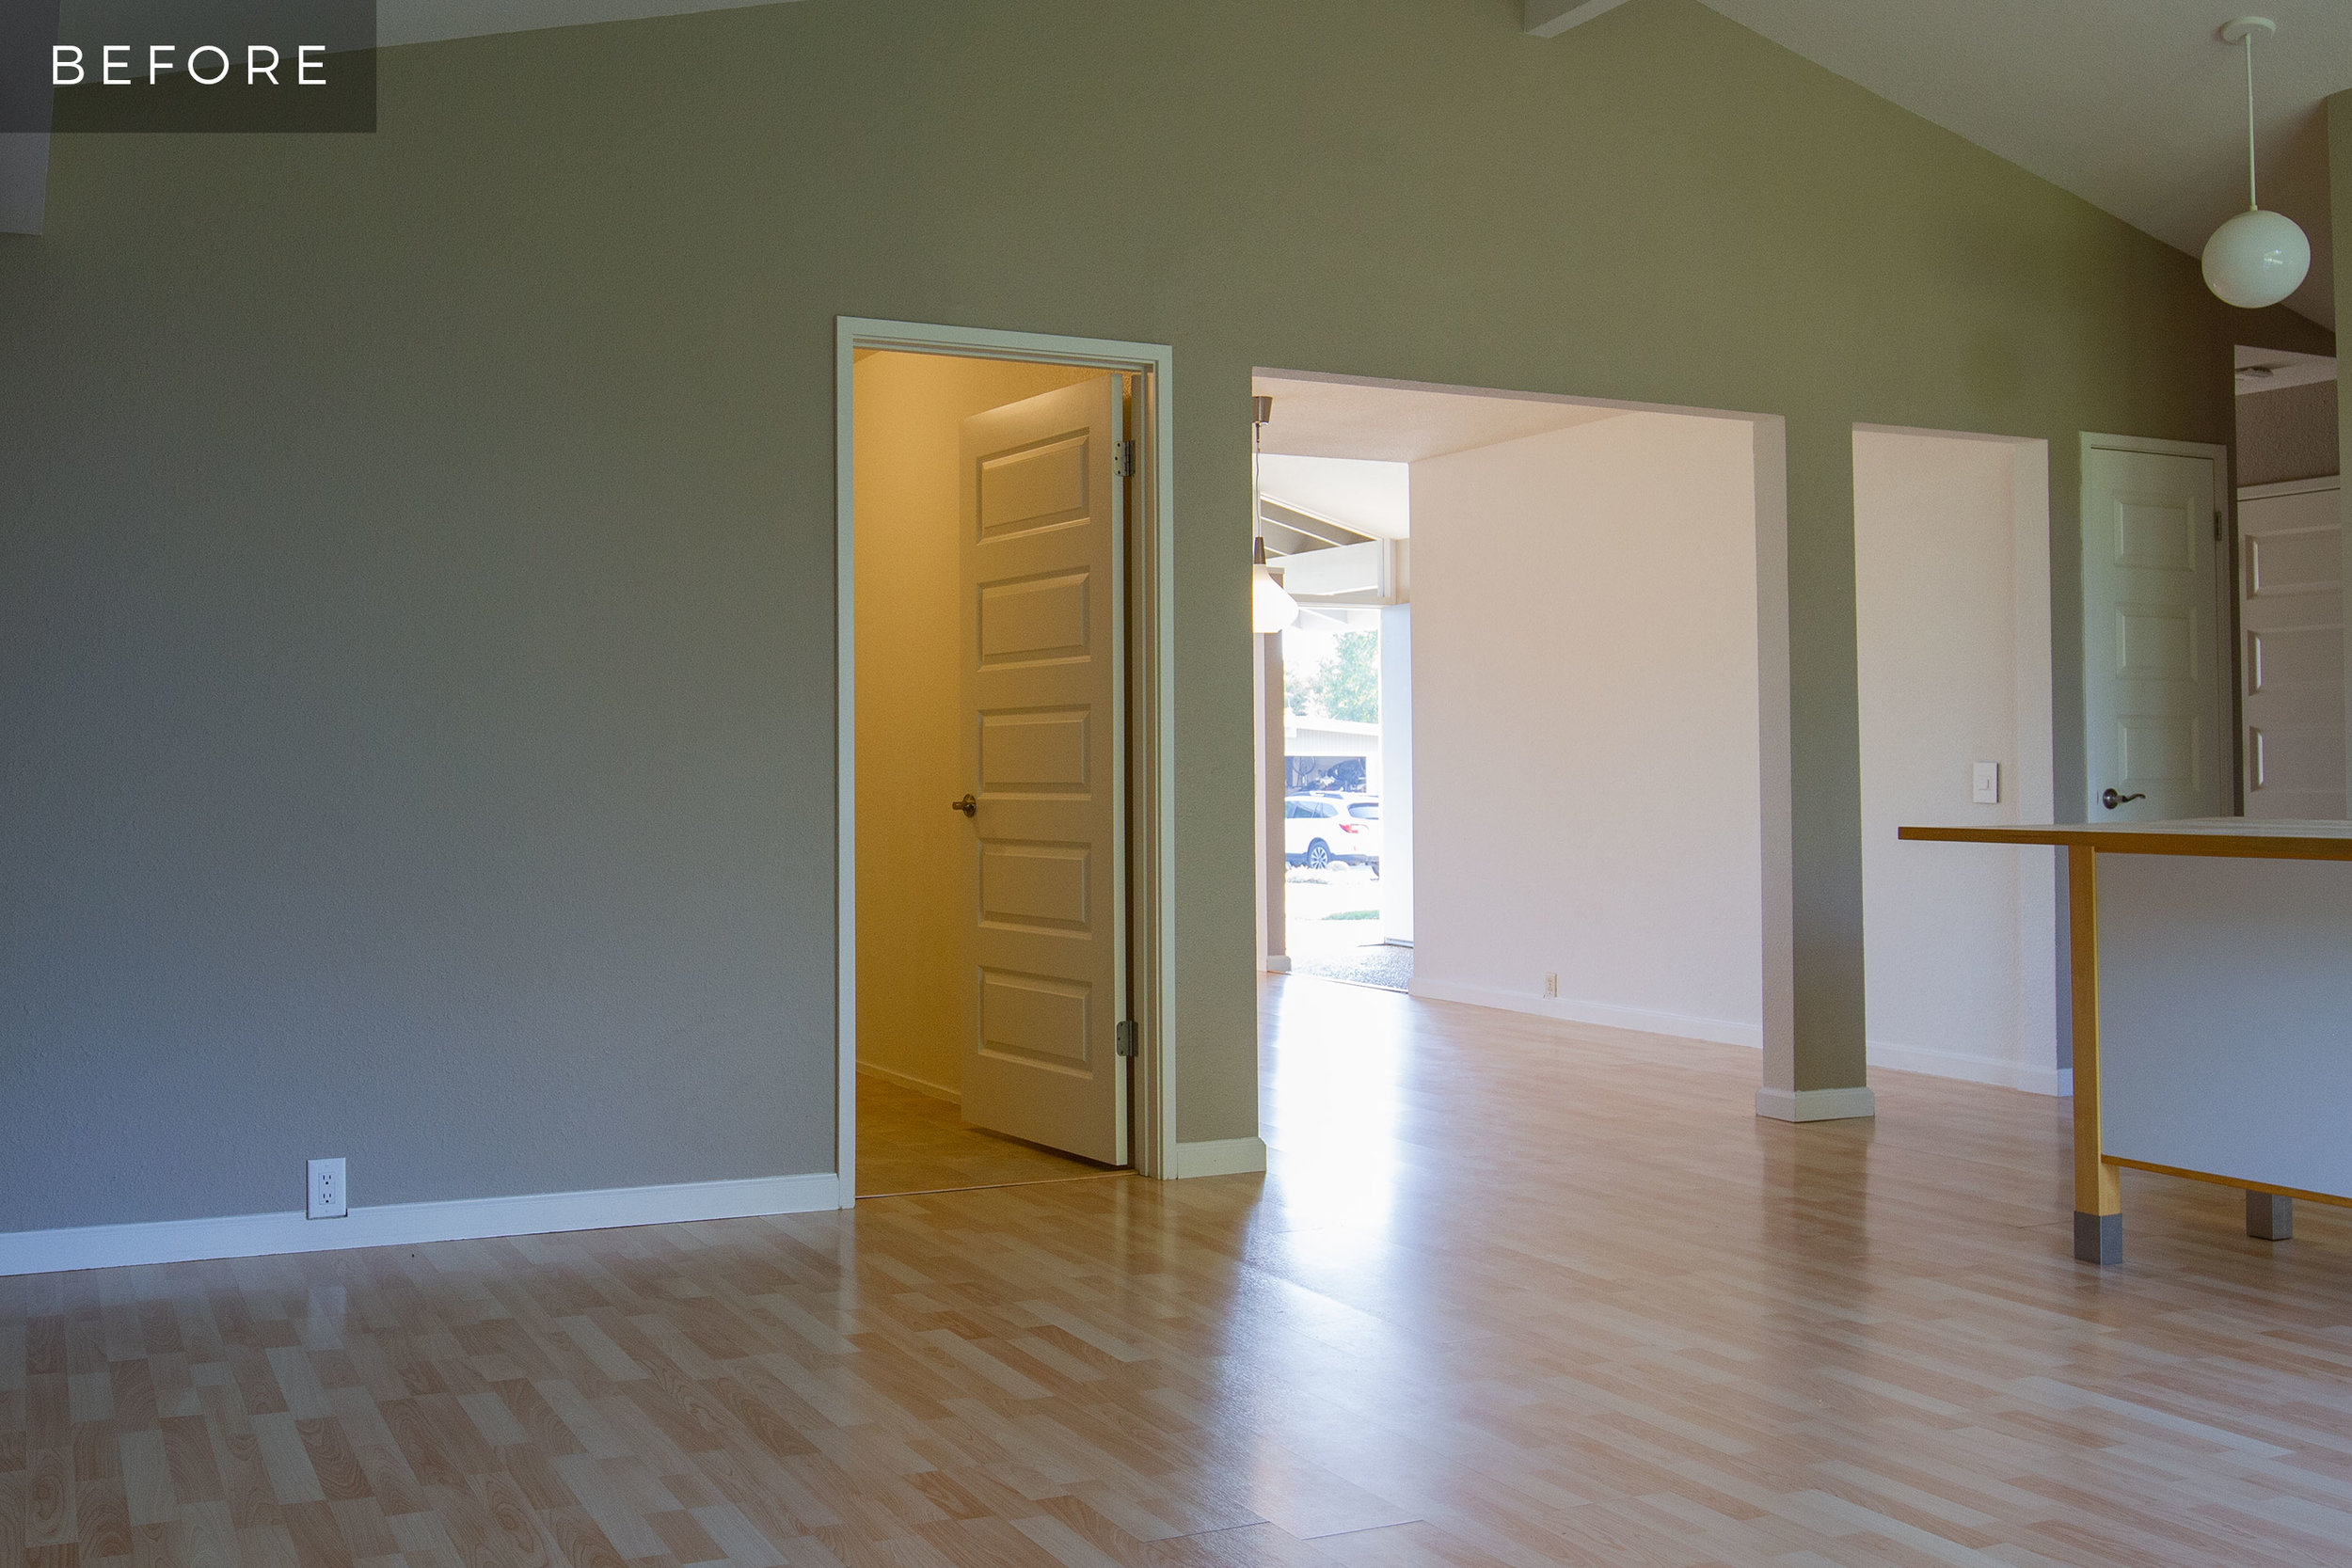
The interior doors were perhaps one of my biggest dislikes of my home when I moved in. The combination of white, faceted panels with brushed nickel hinges and flourish handles felt generic — detracting from the mid-century aesthetic I’ve been working toward. I knew doors had to go from the moment I set foot into the space, but knowing the amount of work involved in replacing them had me pushing this project further down the checklist.
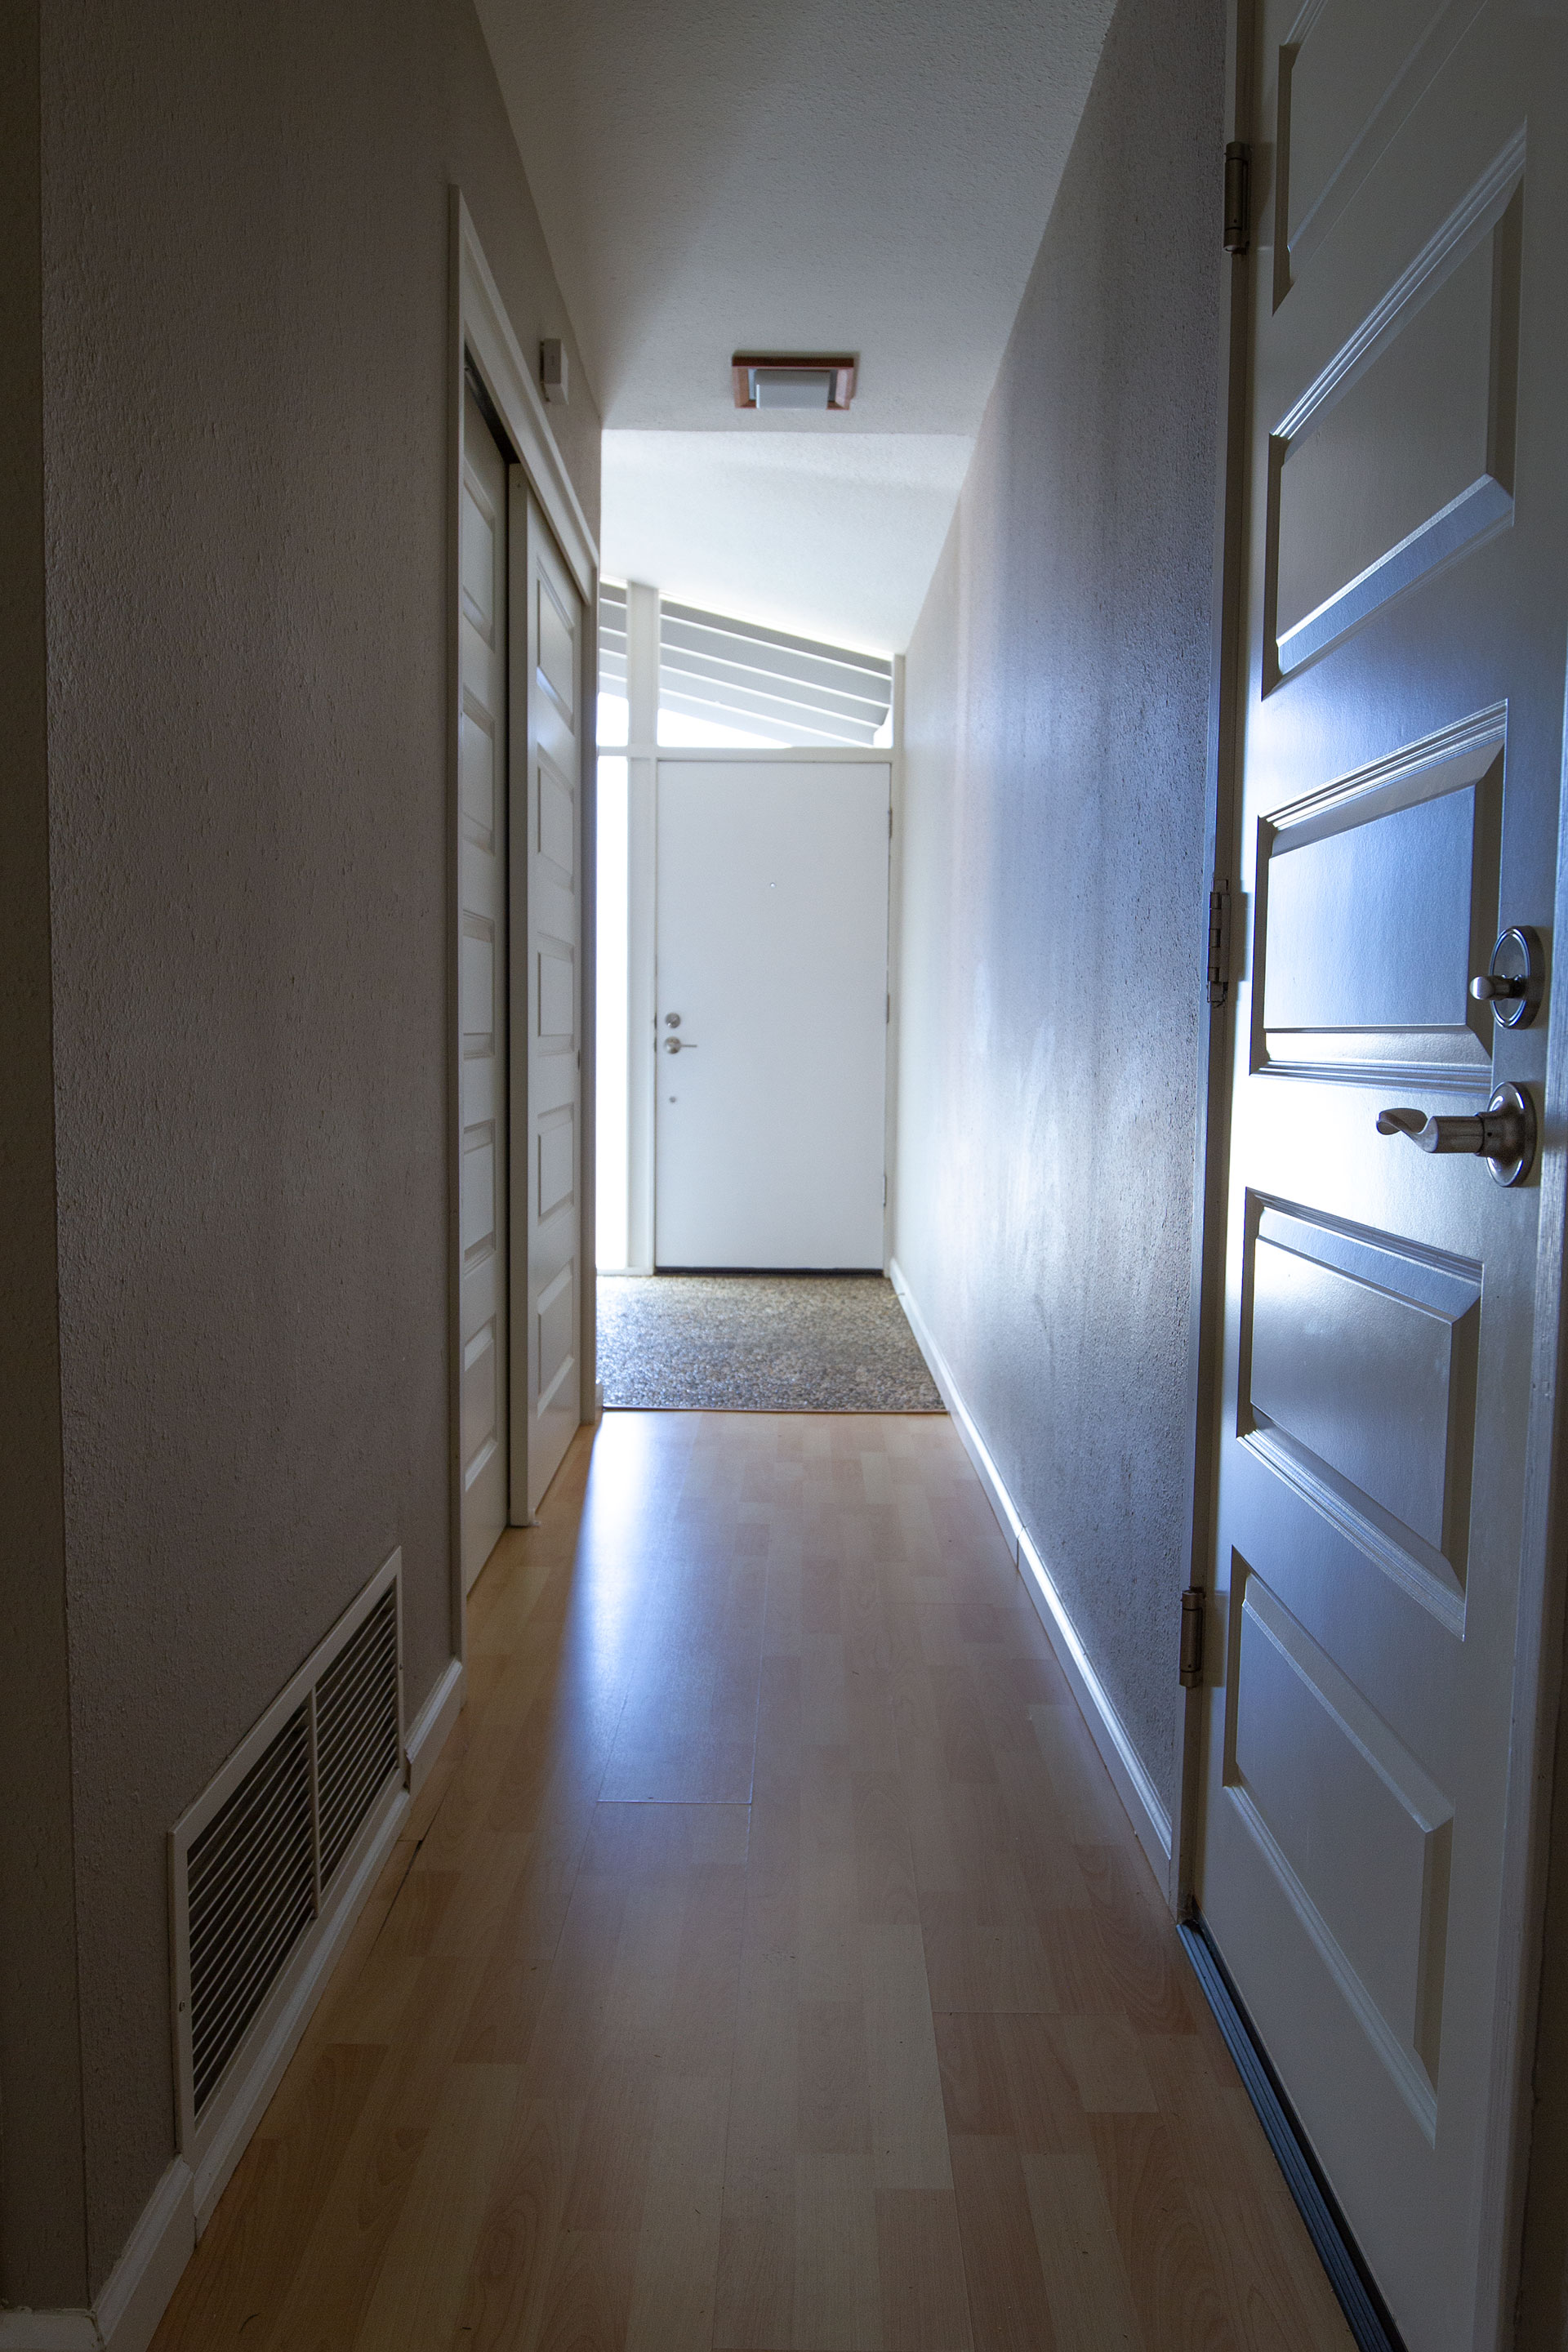
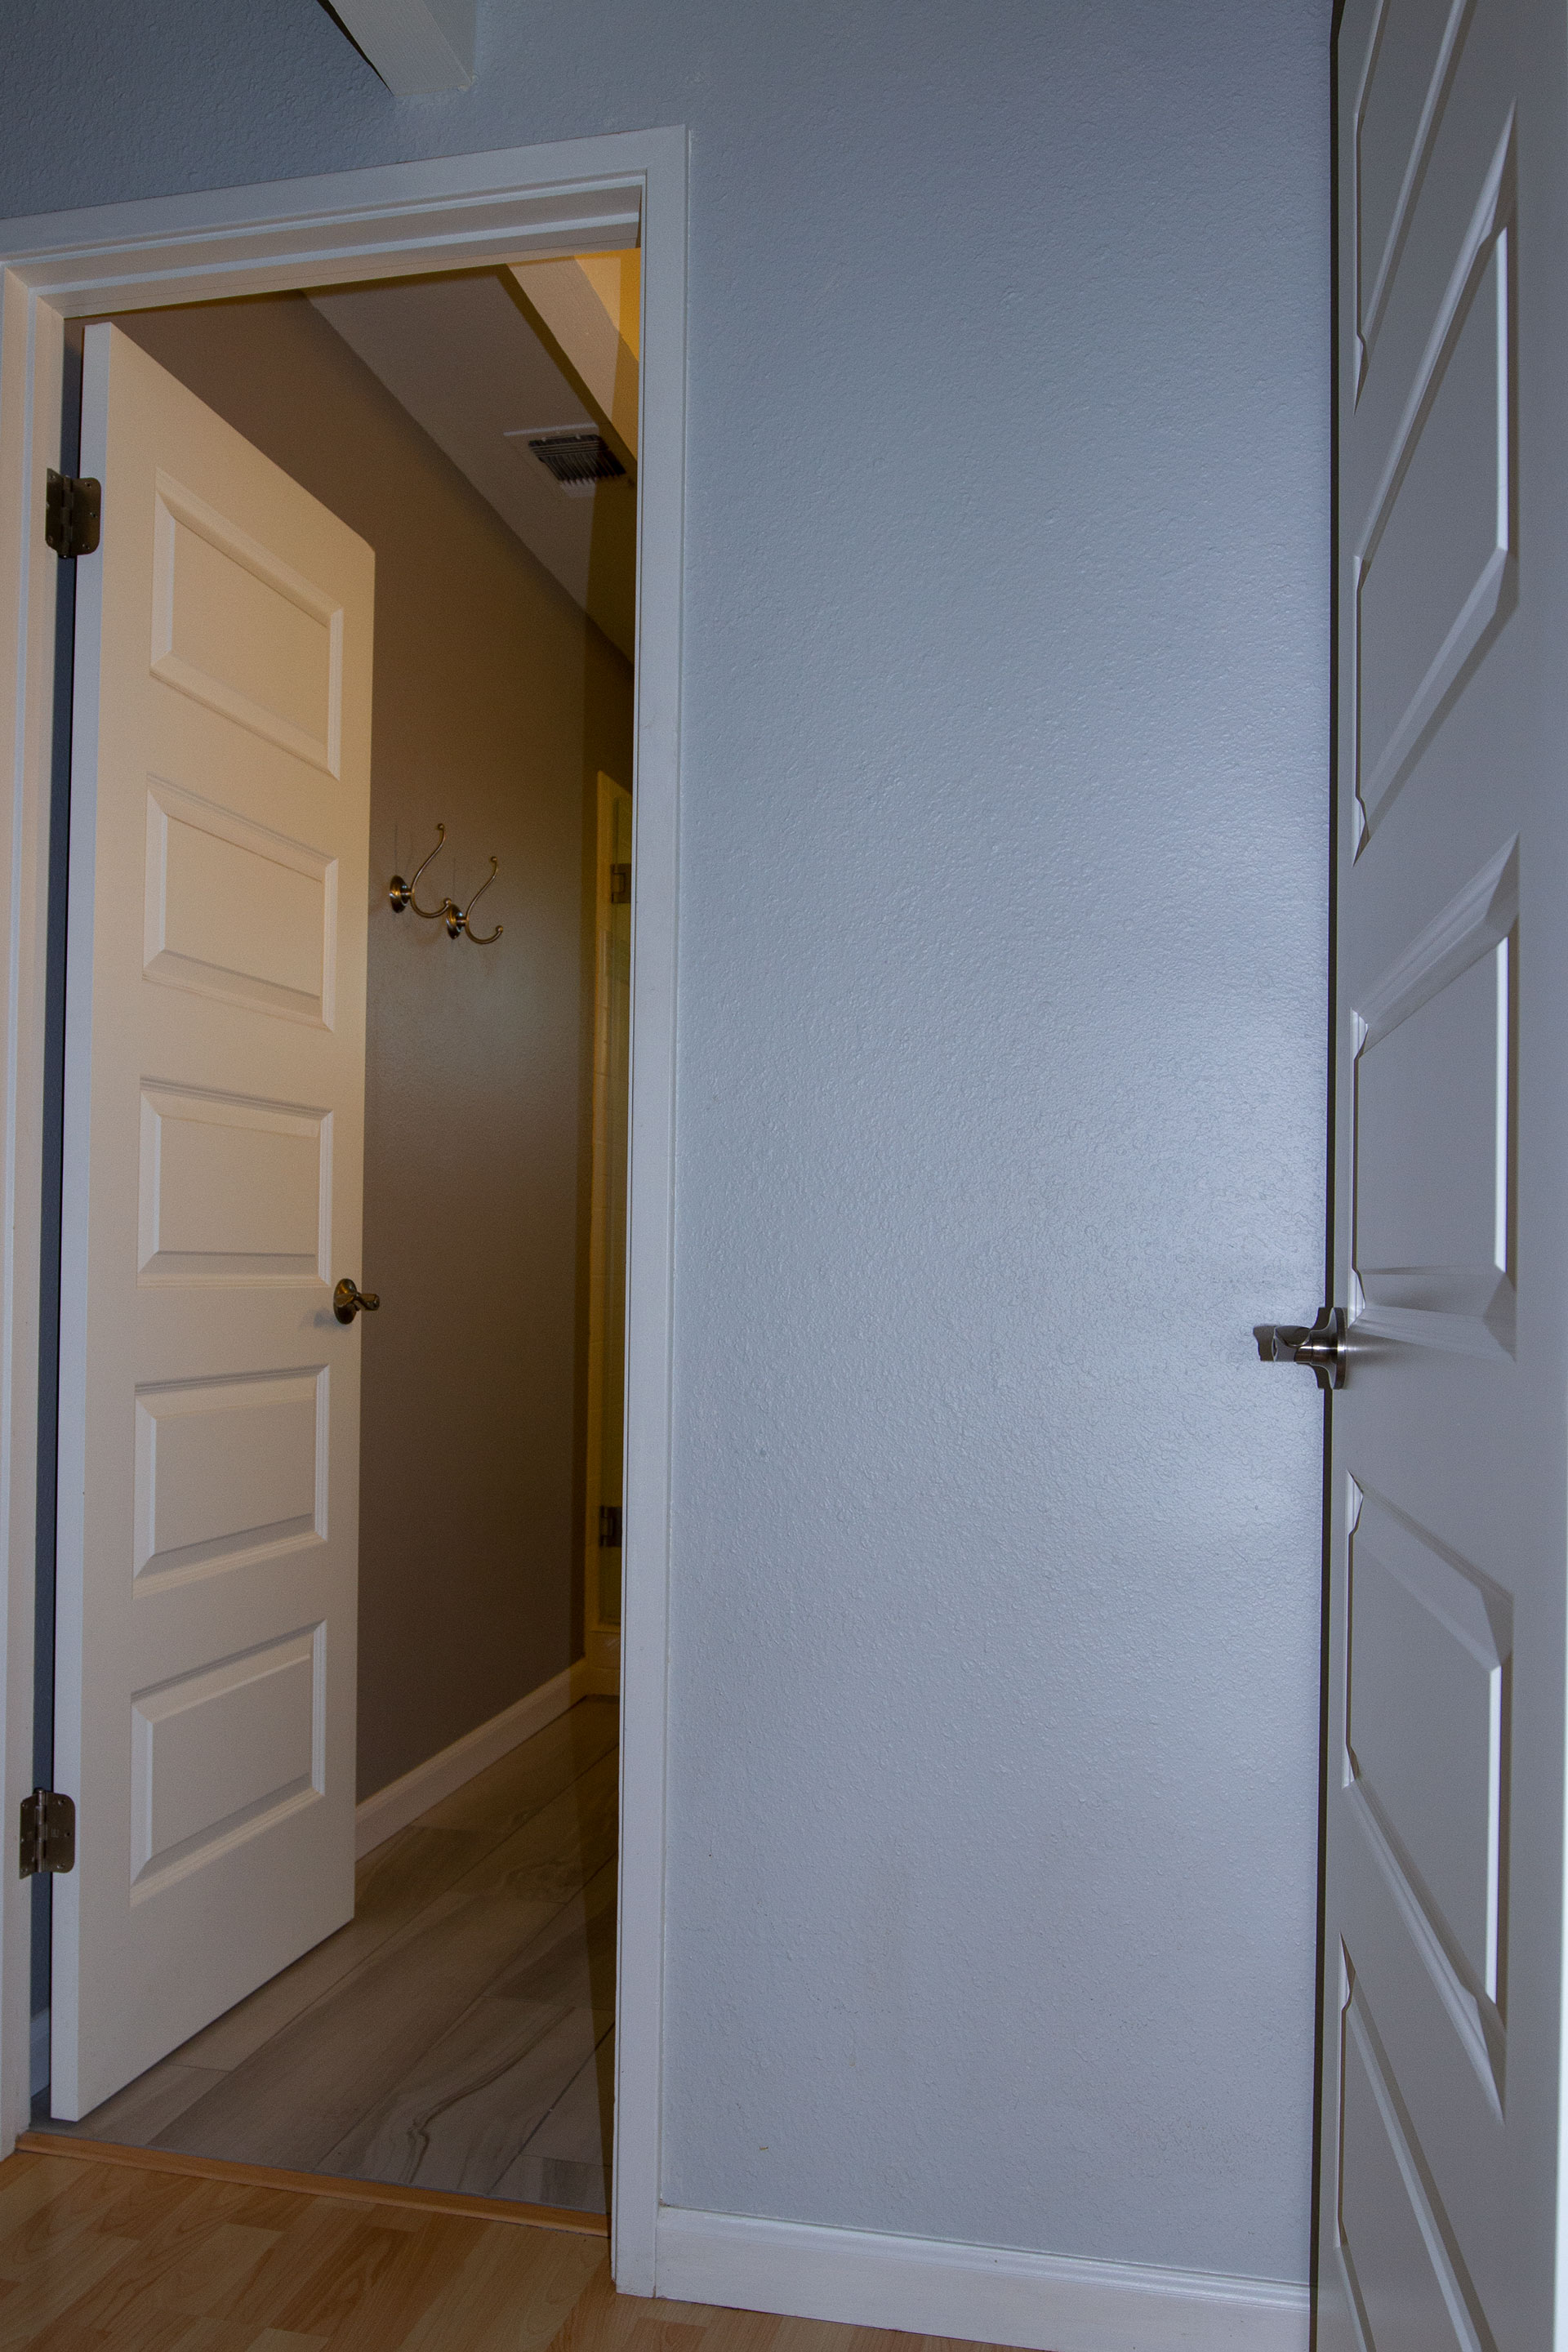

In some ways, I felt badly for disposing of the doors. They were all solid core wood, and decently constructed, but the look was all wrong, and definitely not period-appropriate. Originally, Streng homes were built with hollow core wood doors, stained a dark brown. As much as I would have liked to have the original doors from my home intact, I’m not sure I would have kept them. Solid core wood doors have a much more substantial feel, and offer greater privacy for each room. Naturally, higher quality materials increase cost, but I see interior doors as a one and done operation, so spending a little more makes sense for a project of this type.
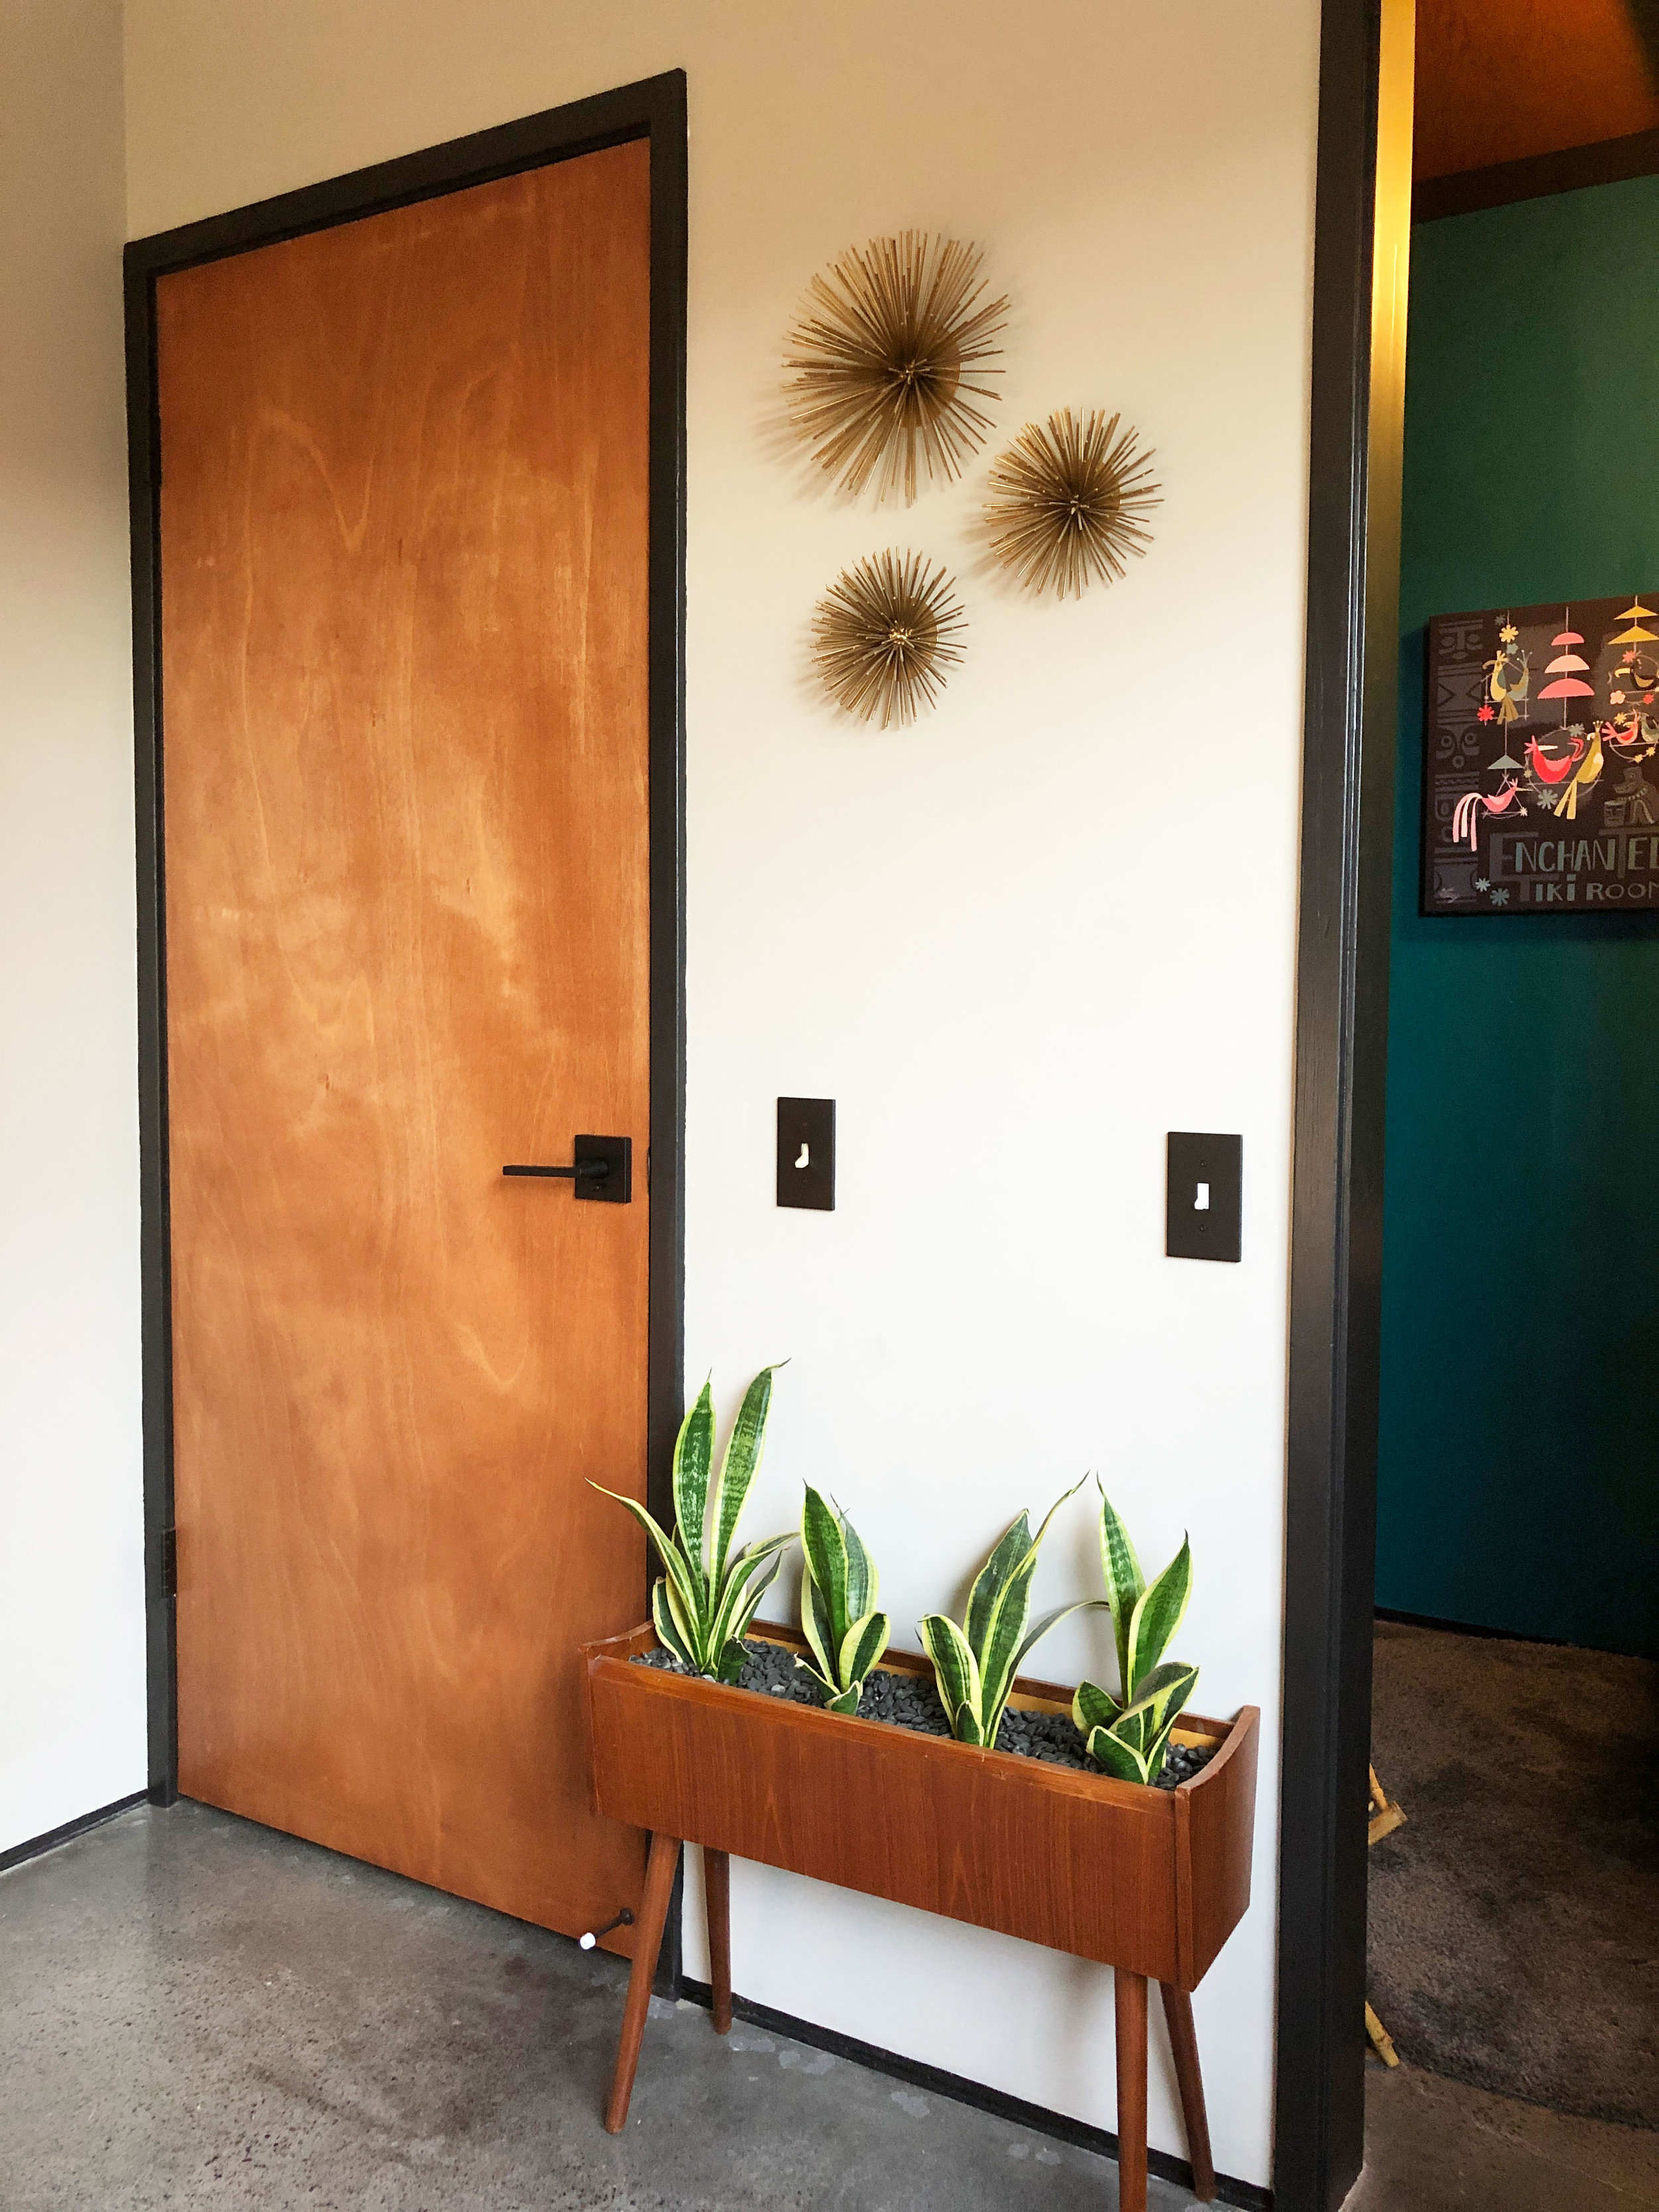
I started my search for new doors online with several vendors. To my chagrin, most options featured some kind of embellishment, panels, or trim. What ever happened to basic flush doors? Surely they’re the least complicated to make as they are a plain slab of wood — and they never go out of style. A message to today’s door manufacturers — Let’s get back to basics! On one of my [daily] trips to my neighborhood Lowe’s, I passed by the door & window department, and thought I’d take a look at one of their brochures. I was finding a lot of the same decorative, detailed options, but was surprised to find a flush, solid core wood door at the back of one catalog. What’s more is that they came in birch, which just so happens to match my original kitchen cabinetry, and living room feature wall. All this time, the perfect doors were less than 5 minutes from home, and prices were very reasonable. My search was over!
Precision Fit
Keeping the original casings and jambs in tact was essential for this renovation. Taking out these trim pieces would be far too invasive, especially considering that I had just applied smooth finish to all of the interior walls. Instead, I opted for only raw slabs rather than pre-hung doors. I will warn you, if you are taking on this project in your home and you are keeping your trim work, measure, then measure again, and measure one more time…just for good, well, you know. I had to be extremely thorough in calculating door widths and heights as well as the precise locations of hinges and door knobs. Just recording all these measurements proved to be a daunting task, but it made all the difference for the install. I typed up a detailed list that I took with me to the store for ordering. It made the clerk’s life easier, and mine as well. Each door was a custom order, and took just under 2 weeks to arrive at my home. Lowe’s was able to get as precise as 1/32 of an inch (Other stores could only get as close as 1/8” increments, which would have been a disaster.) A couple doors were damaged in transit, and had to be re-ordered, but with a total of 12 doors to sand, stain, and oil, I had plenty to keep me busy while I waited for replacements to arrive.
Slow but Steady
Finishing each door was a multi-day process requiring a decent amount of labor and patience. Using sawhorses as supports, I first had to sand out any surface blemishes with 220 grit sandpaper, then clean them and apply stain. I used Varathane American Walnut as that is what I chose for the other wood features in my home. I allowed the stain to set overnight for richer color, then applied 4 coats of tung oil, allowing 12 hours of drying time and sanding with #0000 steel wool between each coat. This same process was repeated to the other side of each door.

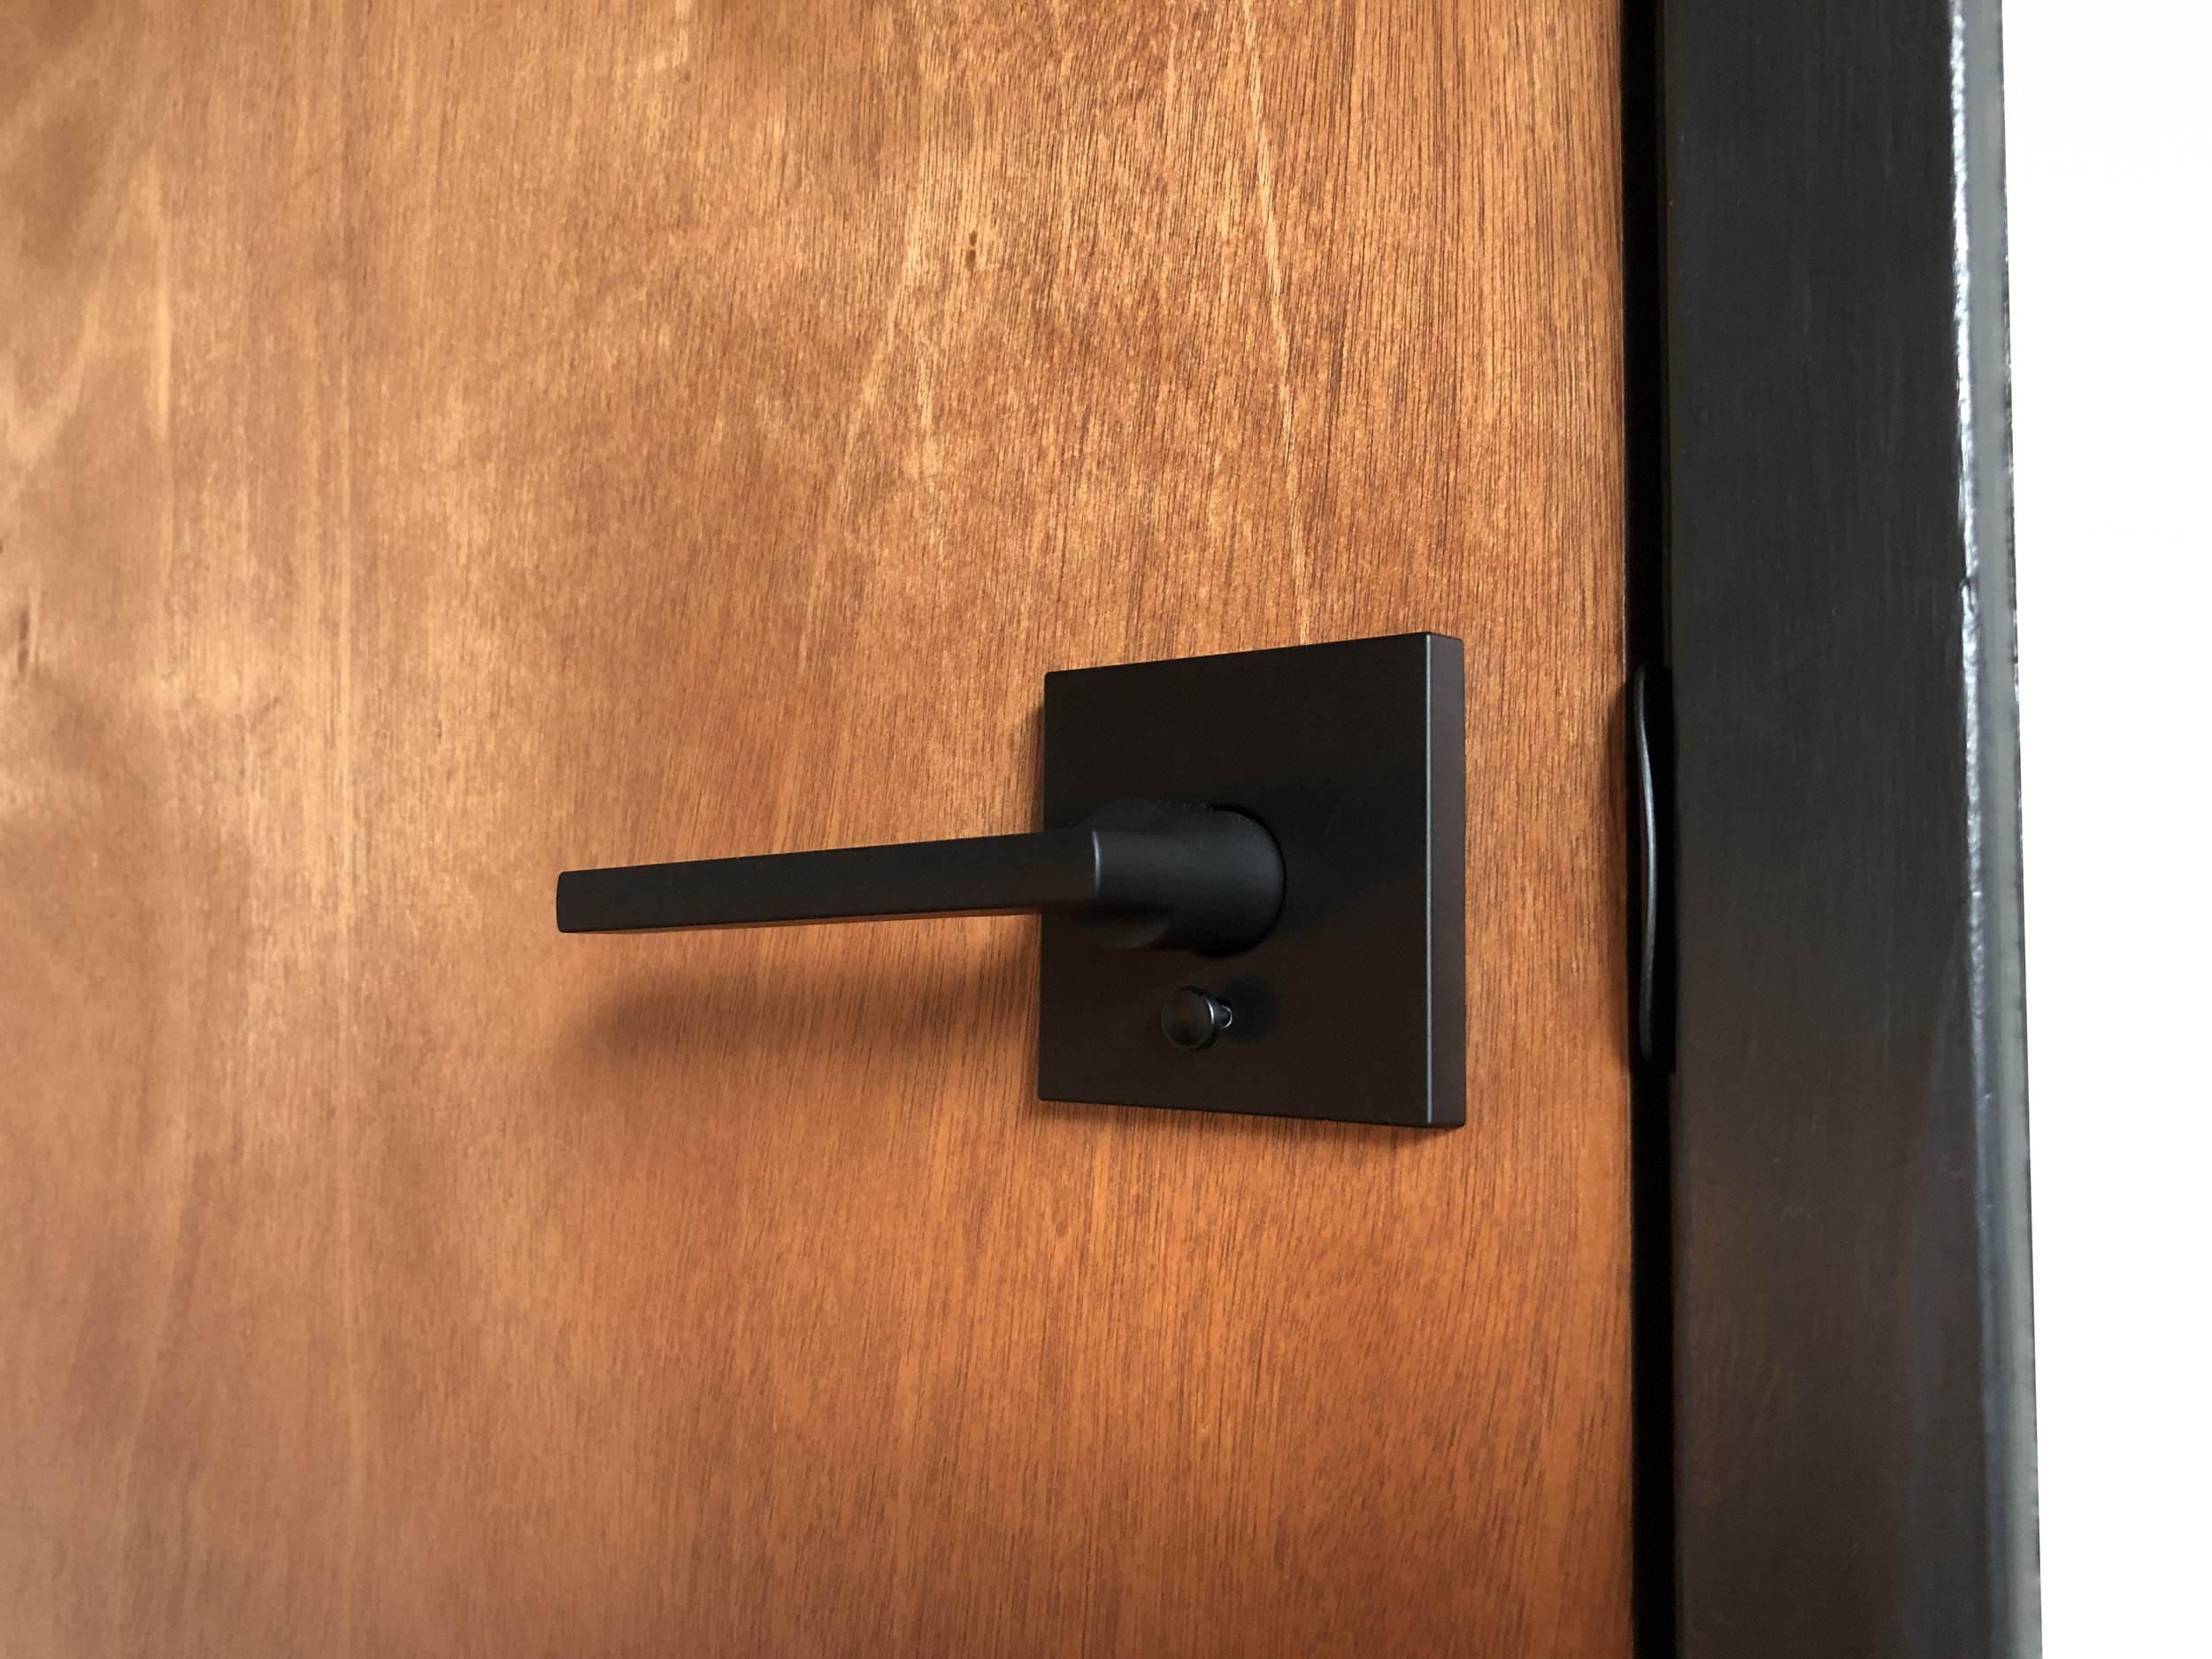
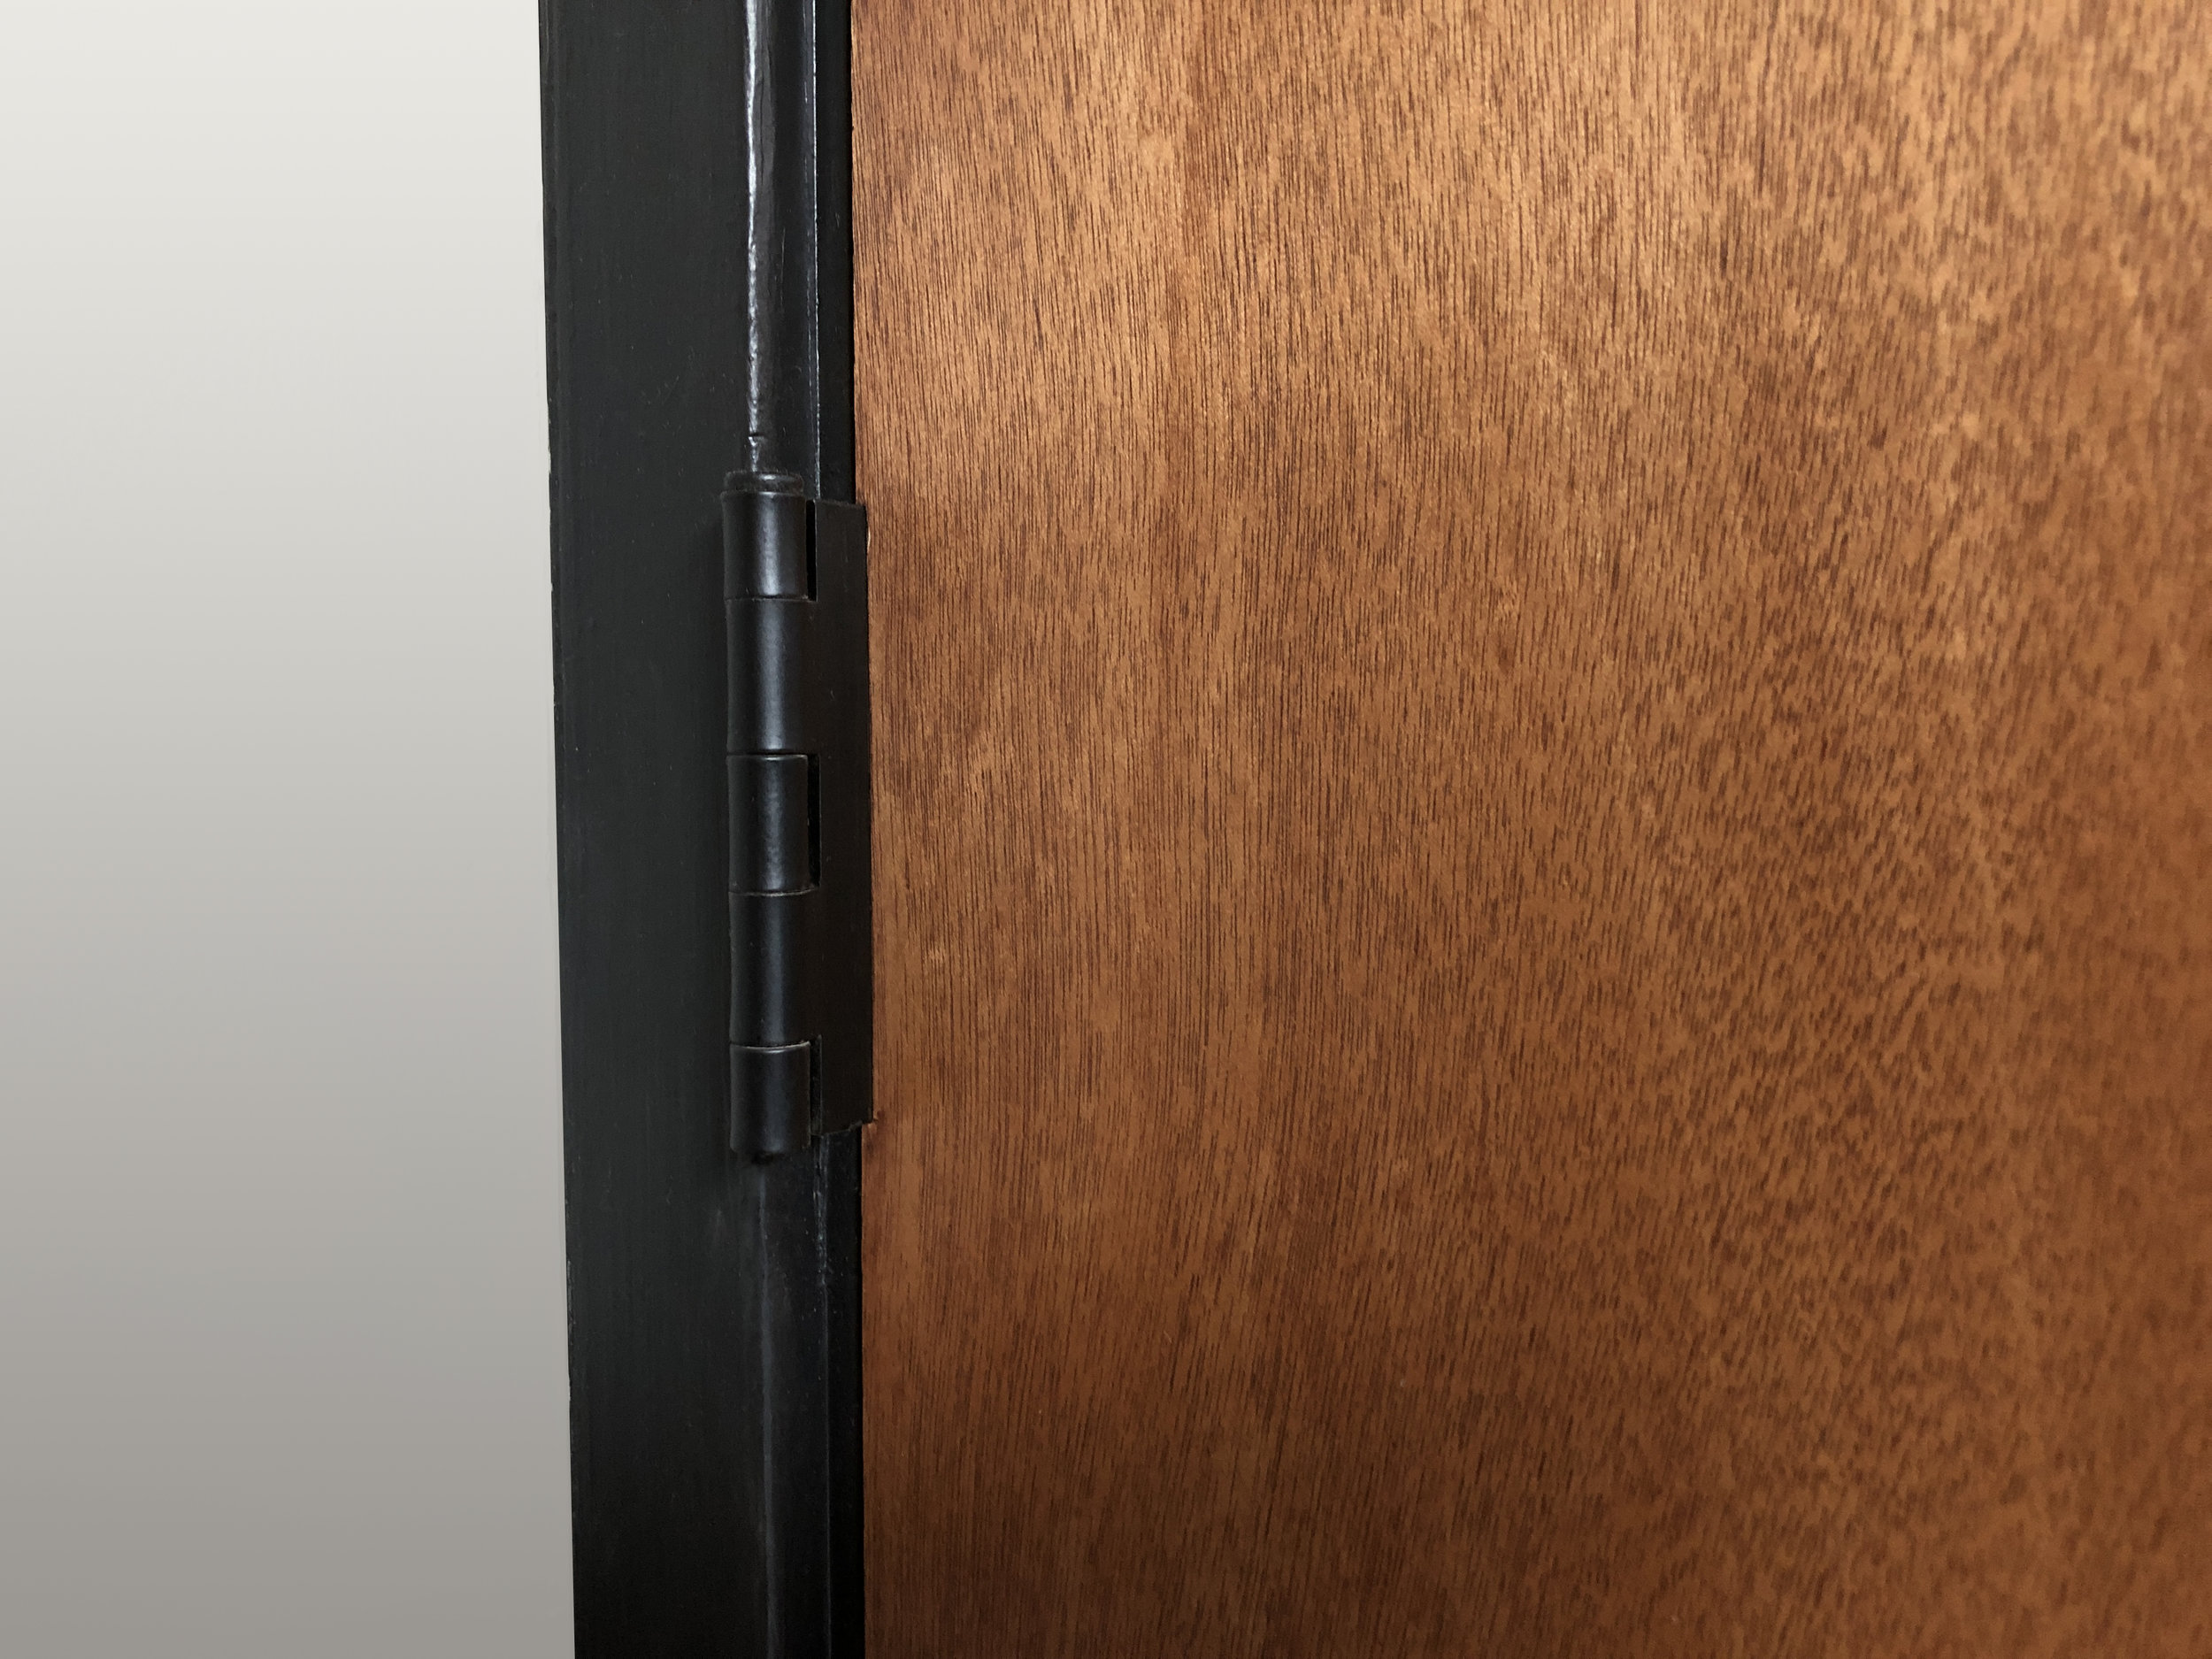
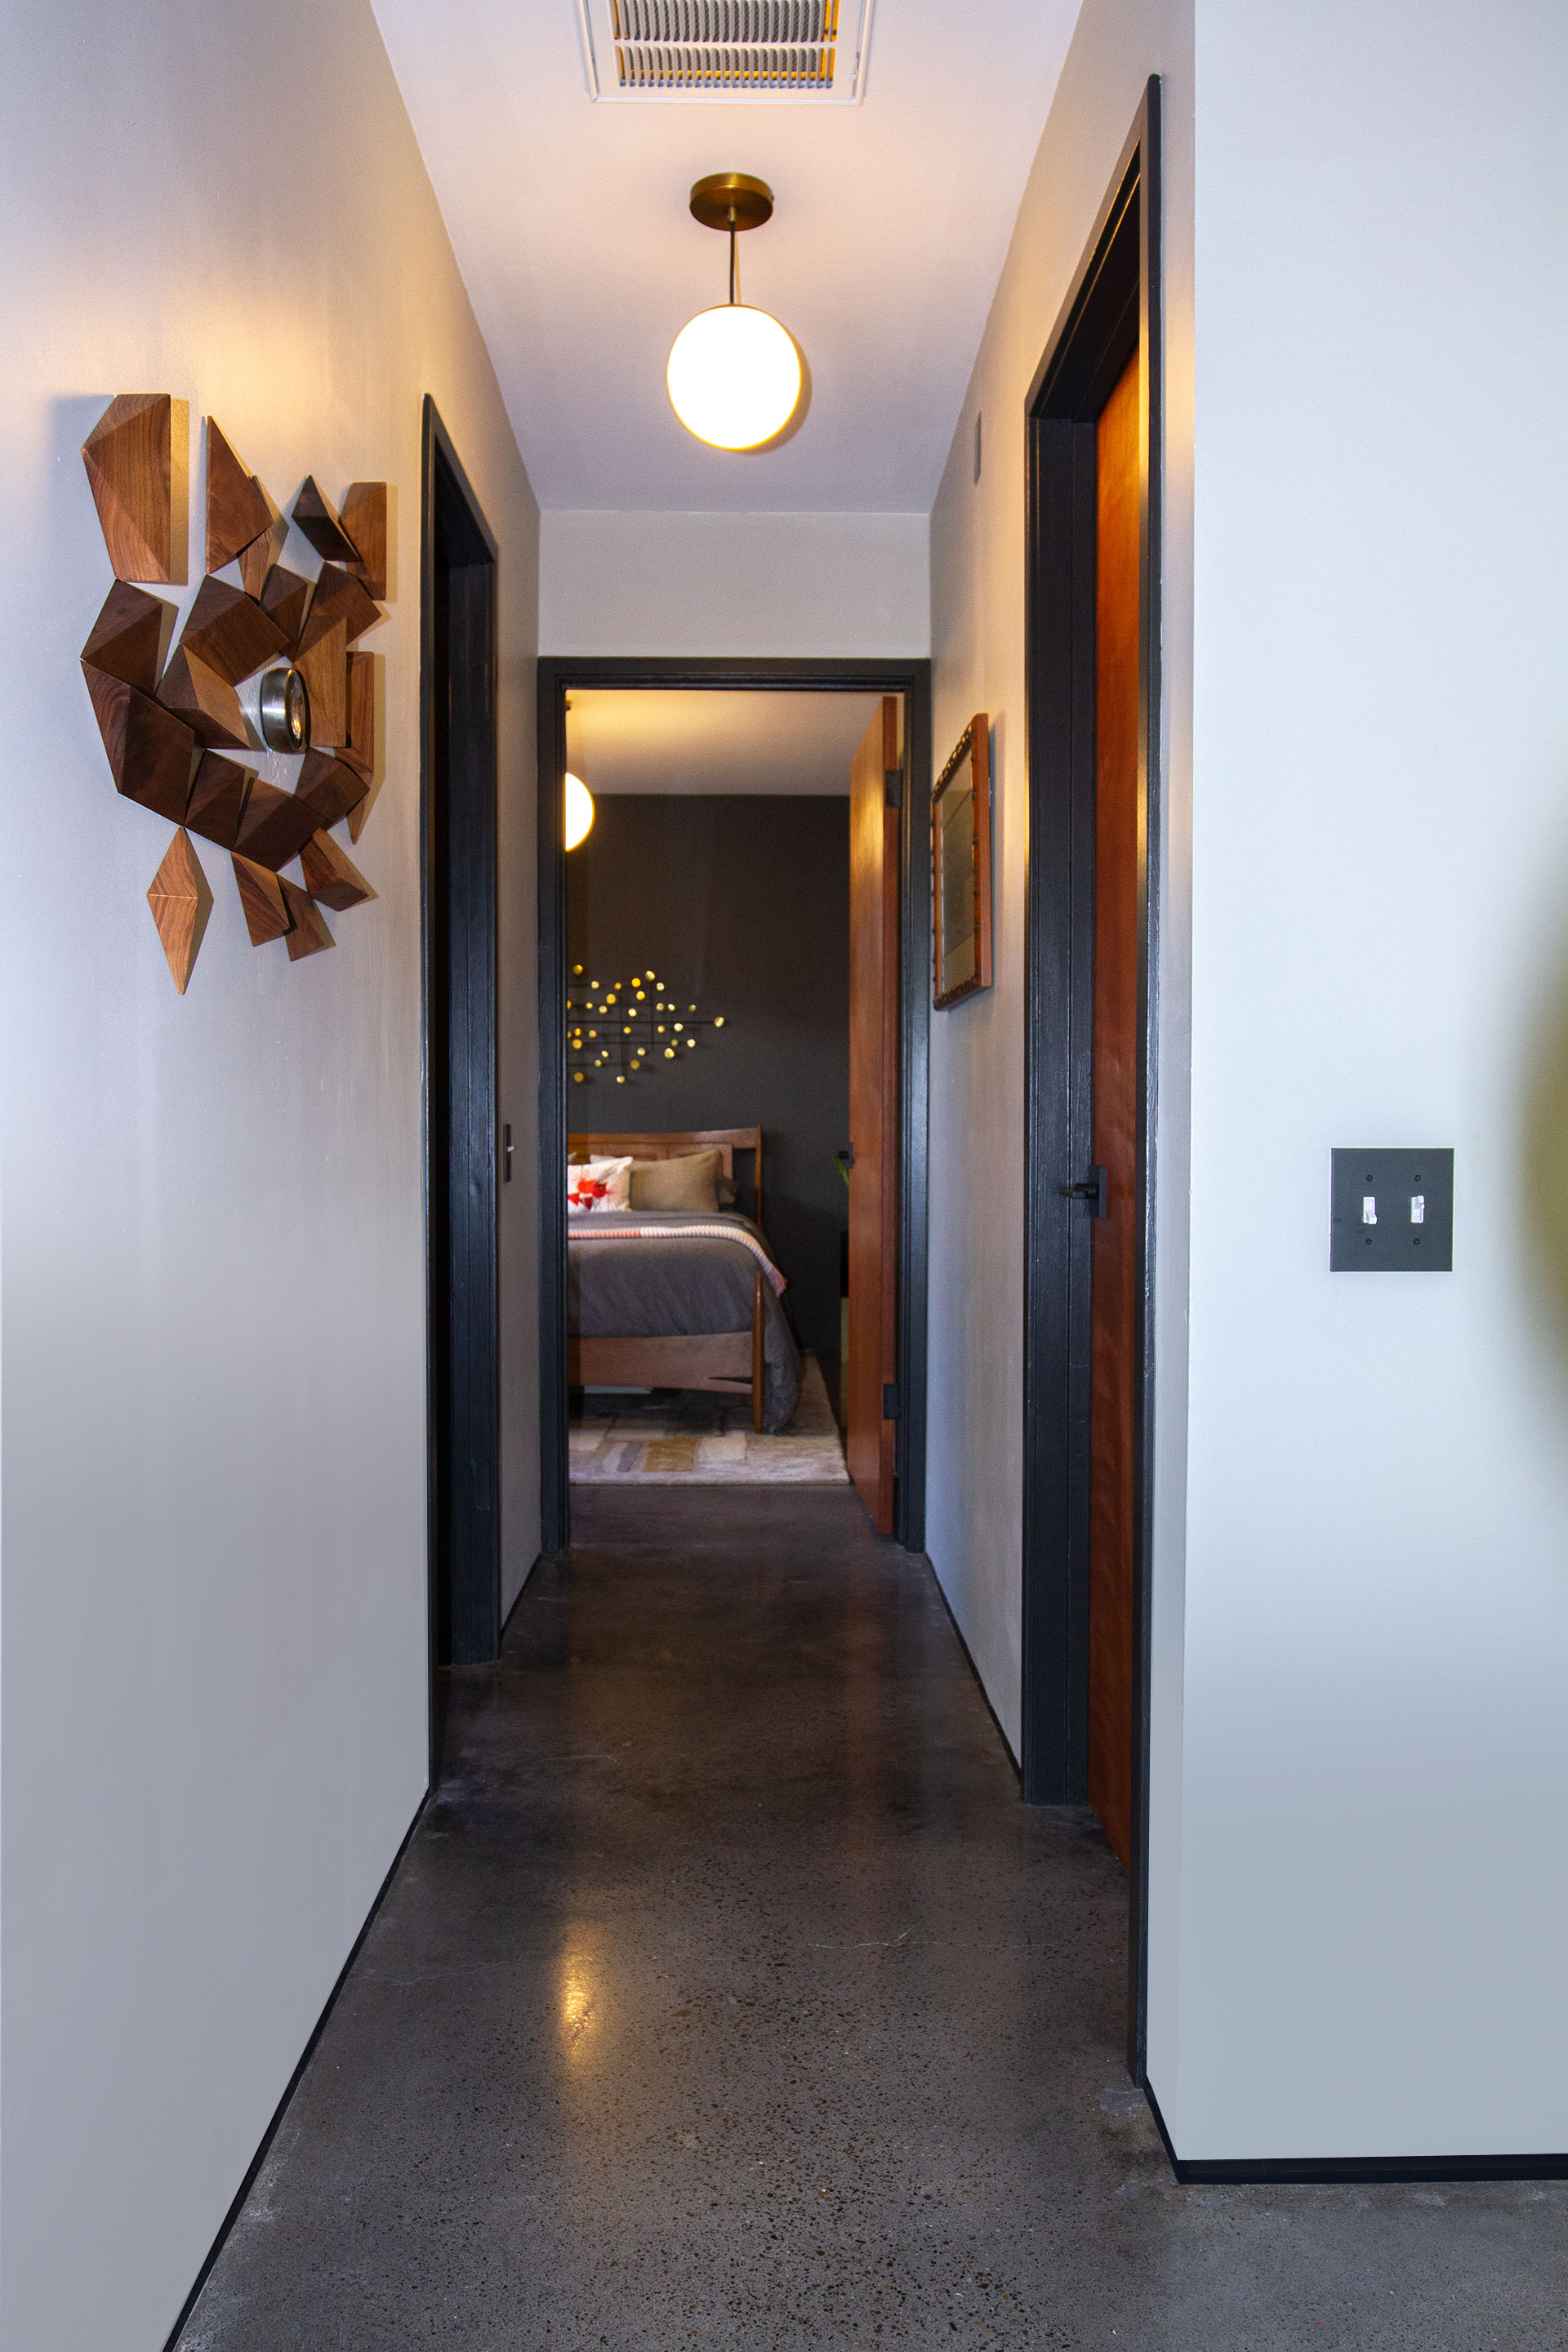
Once a door had its final coat of oil, I was able to install hinges and handles. To keep the black and wood theme going as I had in other areas, I selected Schlage Latitude handles in matte black. Their optional Collins rosette was the perfect tie in to the sleek Rejuvenation switchplates I had recently installed in every room. Again, this added to the overall cost by a few dollars per handle, but the crisp, square edges make all the difference. Square corner hinges were used to continue the modern aesthetic. These black accents were also chosen to harmonize with the freshly painted trim (SW 6991 - Black Magic).
Seeing it Through
Hanging the doors proved to be the most difficult aspect of this task. Having 2 people to hang a door is strongly recommended, but when you’re a bachelor with the drive to get things done, you get in there and make it happen. This is where that super precise measuring came in really handy. I won’t say that every door sat perfectly in place as I maneuvered the bulky slabs onto their hinges. Some fine adjustments had to be made, but I was able to wriggle at least 1-2 pins in place while I quickly reoriented the remaining hinges. All in, the finishing time on this project was about 2 weeks once I had all the materials in-hand.
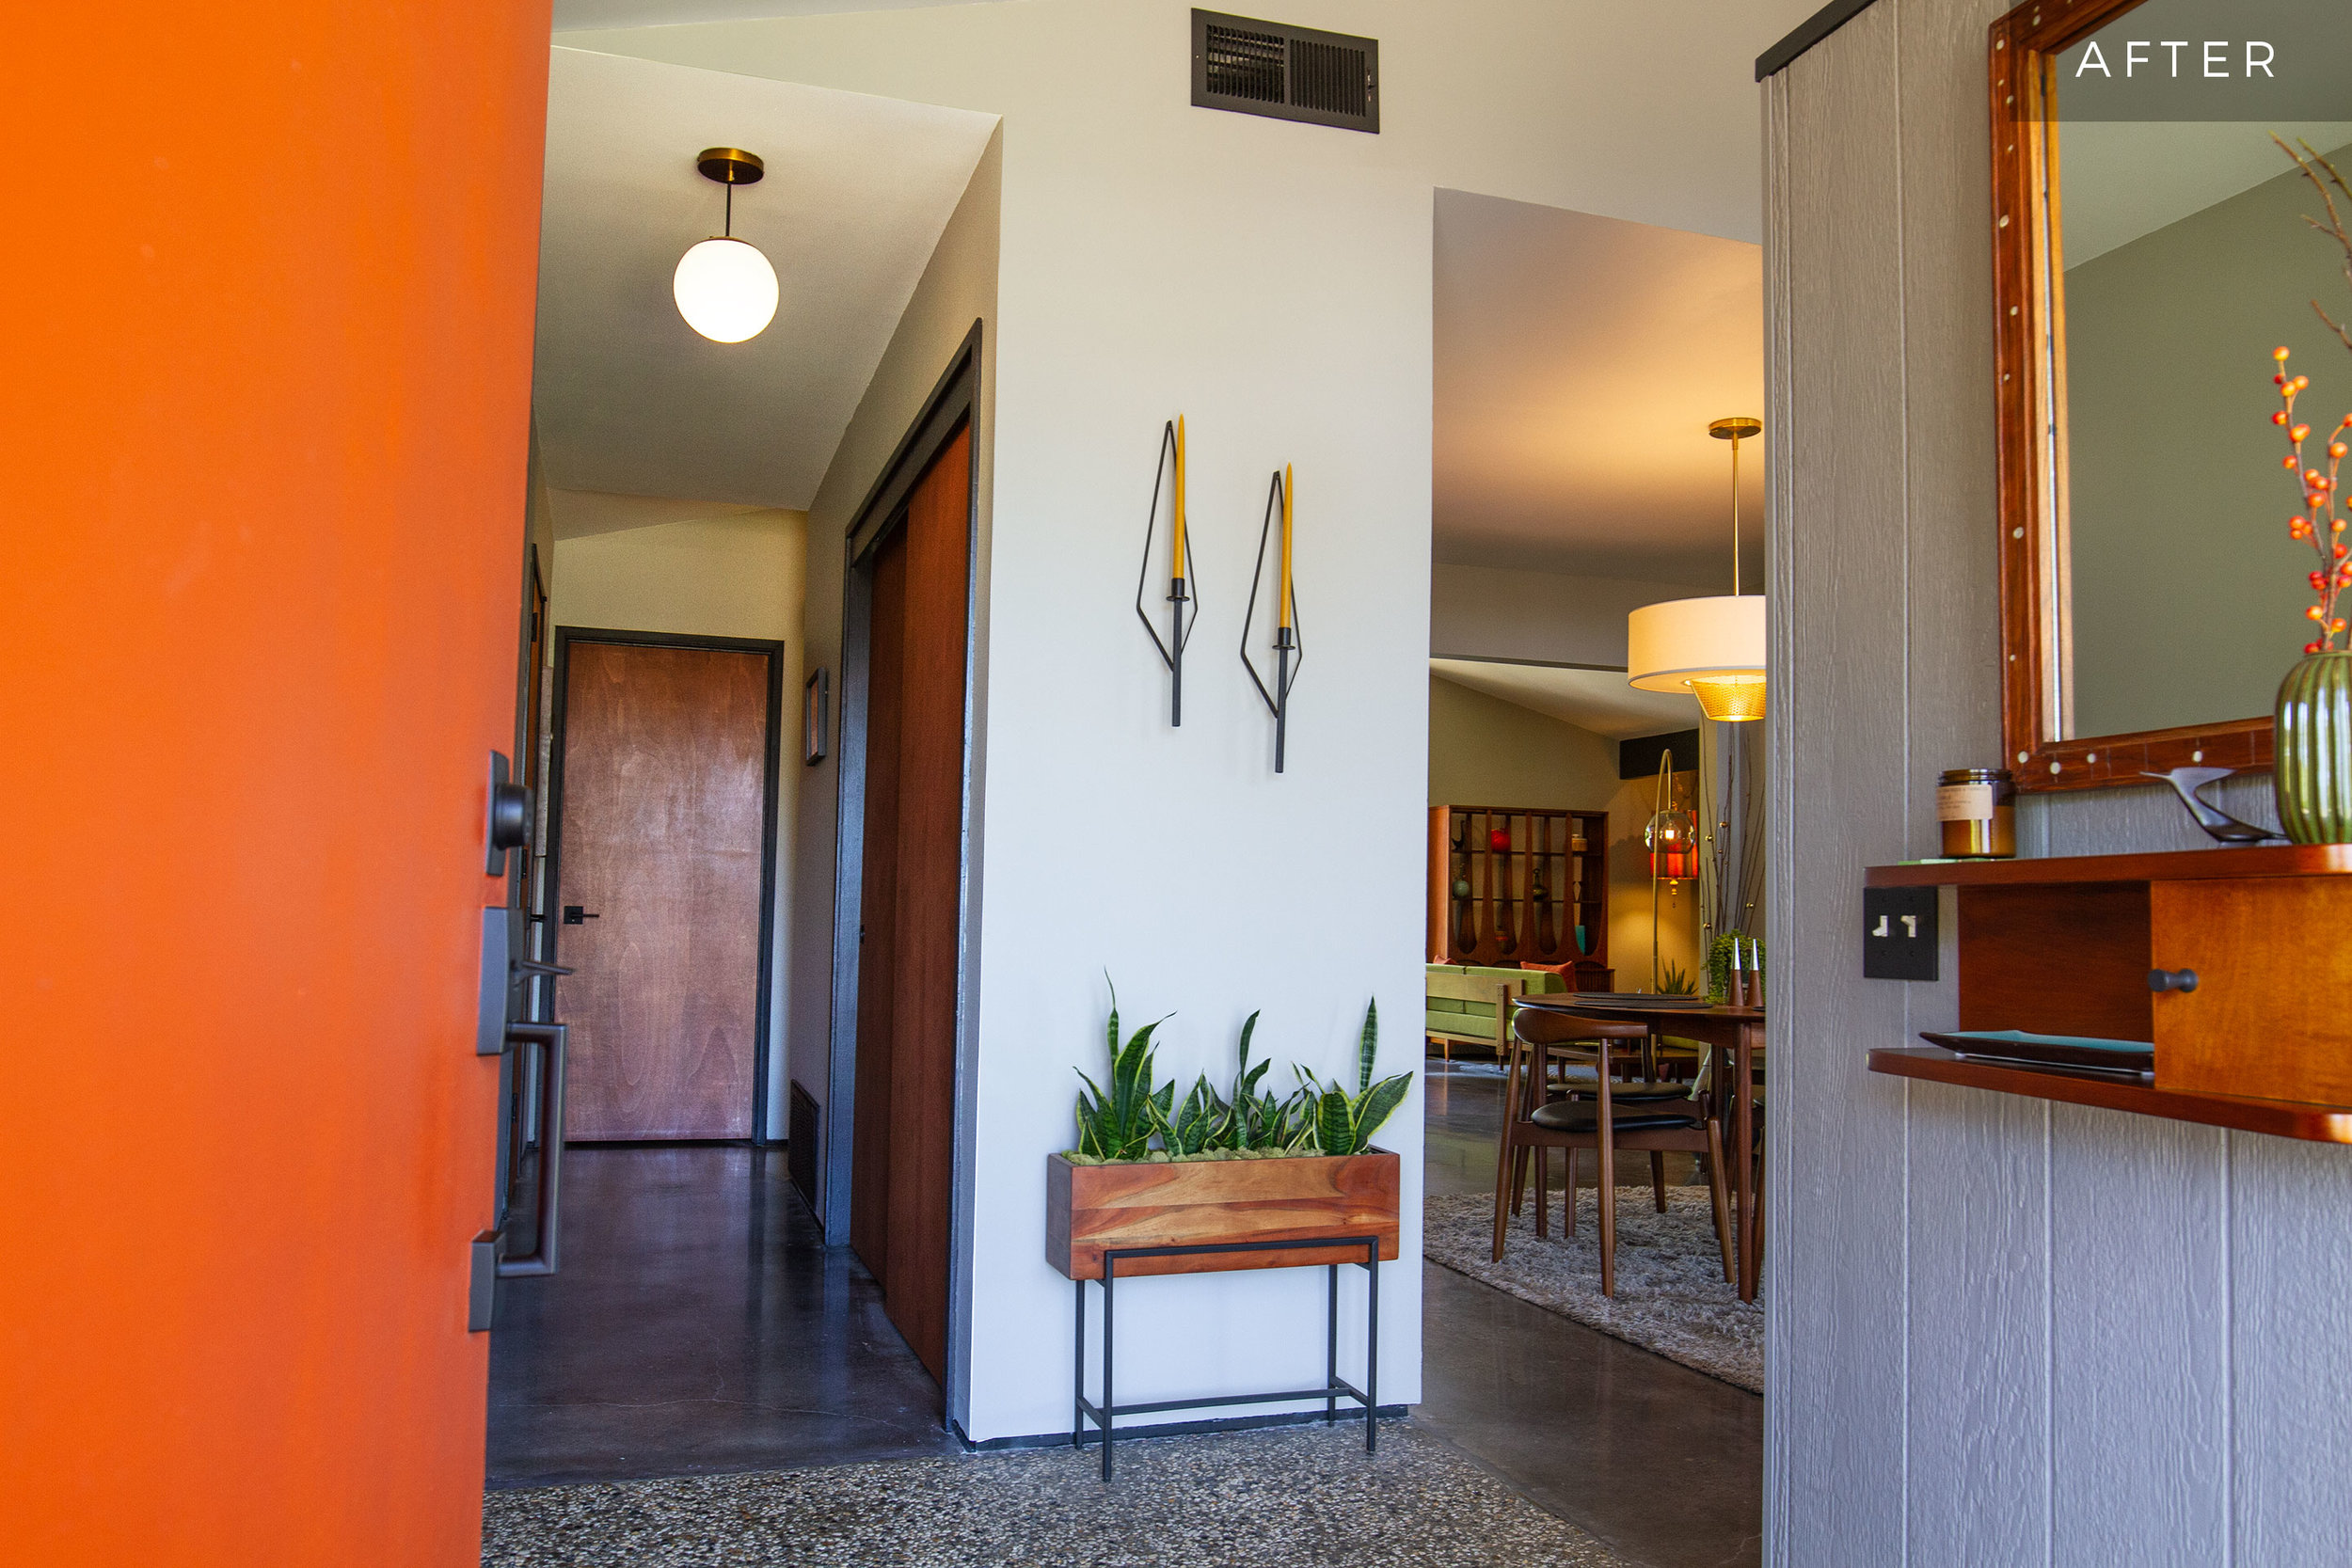
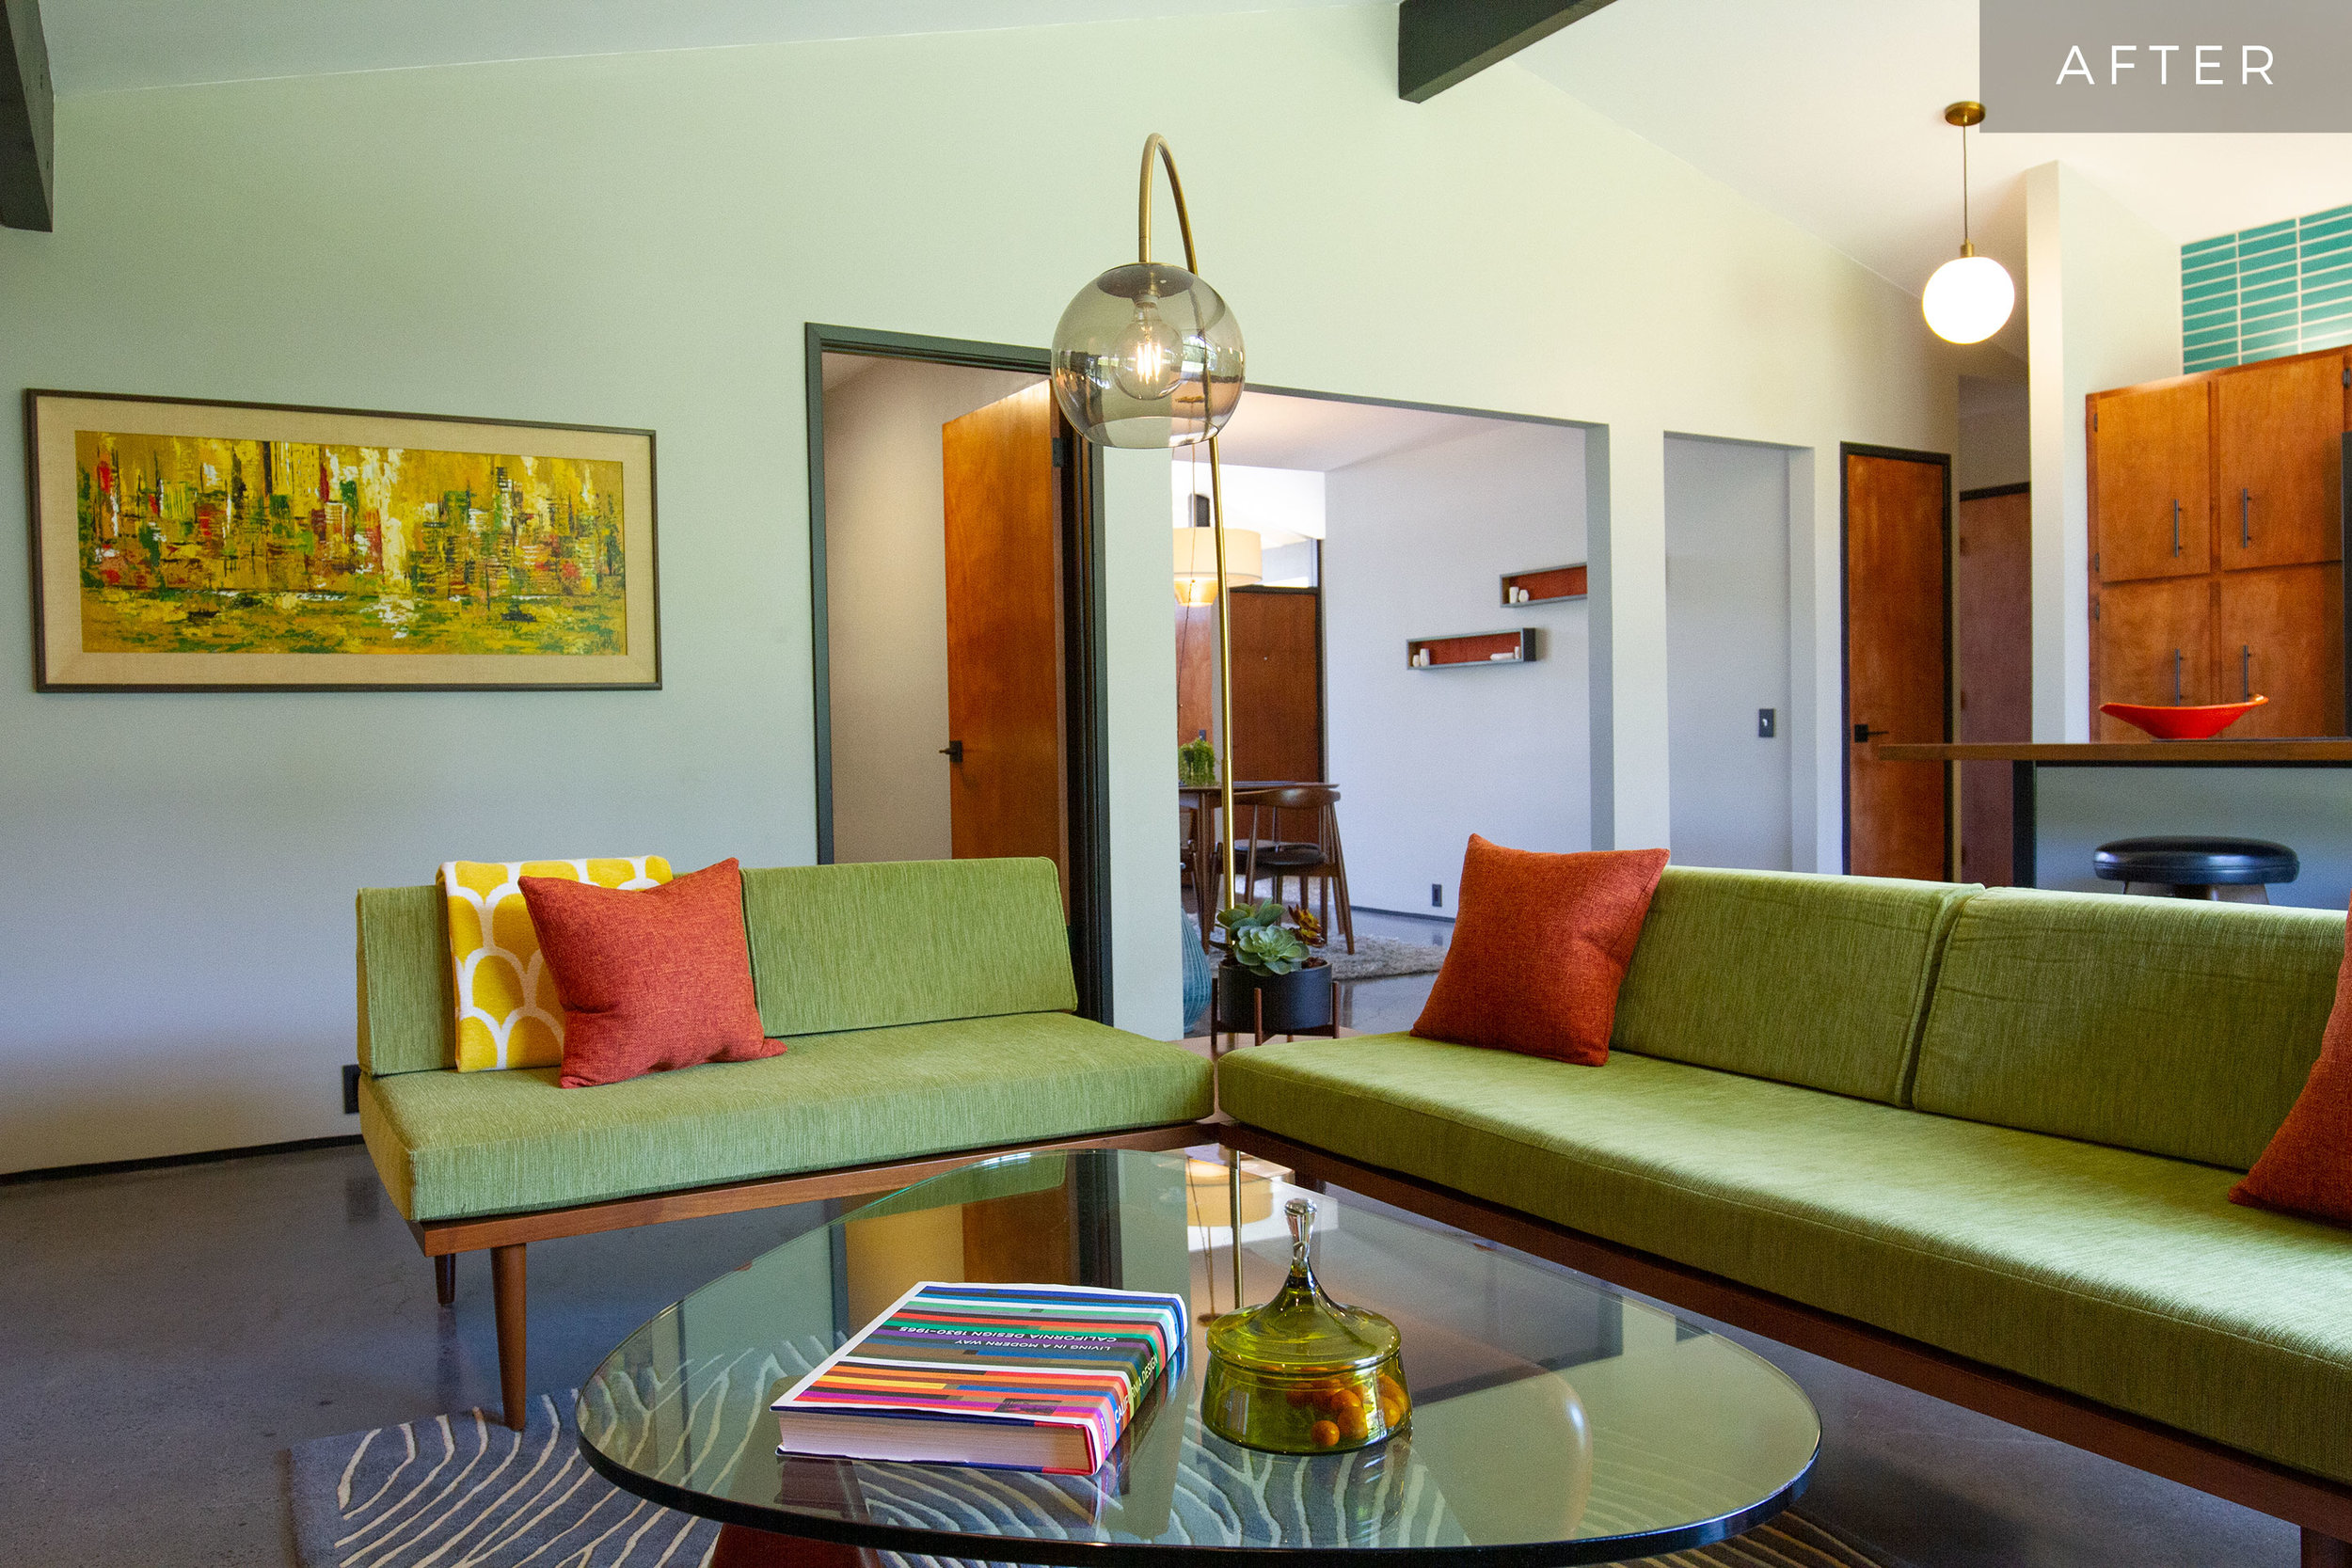
These timeless, flush doors keep every space in the home feeling warm, inviting, and free of distraction. Replacing them has been one of those projects I am very proud of completing. Getting 3 bedrooms, 2 bathrooms, 5 closets, a laundry room, and garage door stained and oiled took me back to the days of intensely restoring the kitchen cupboards. So. Much. Work. Struggling with the hinges at the end really had me thinking I should have called a professional. But when it’s all said and done, I did it myself, and I’m better for it — even if it came with 2 weeks worth of sweaty laundry, walnut-stained fingers, and a bucket-full of choice vocabulary.